My husband operates a junk removal company, which has given new meaning to the phrase “one man’s trash is another man’s treasure.” For the past year, his home office hasn’t been a priority as we’ve been fixing up other areas of our house. He’s been making do with two mismatched desks and a torn up chair. Then one day he came home with an old table that I thought it would make the perfect desk for his office.
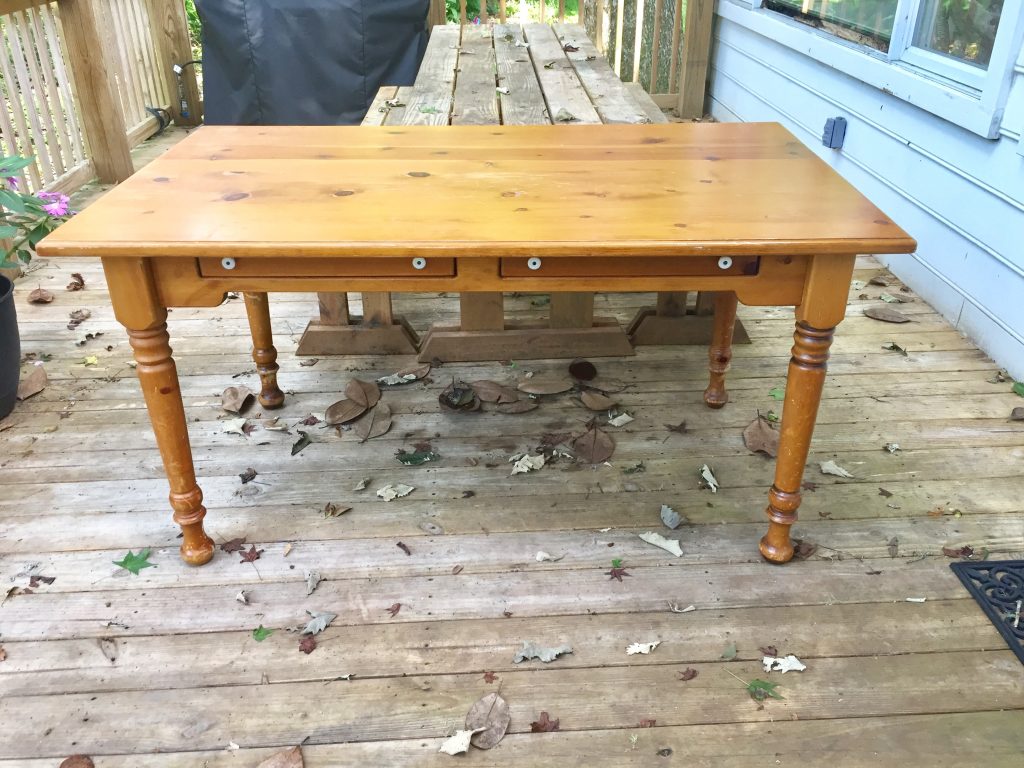
So, here it is before, in all its shiny orange glory:
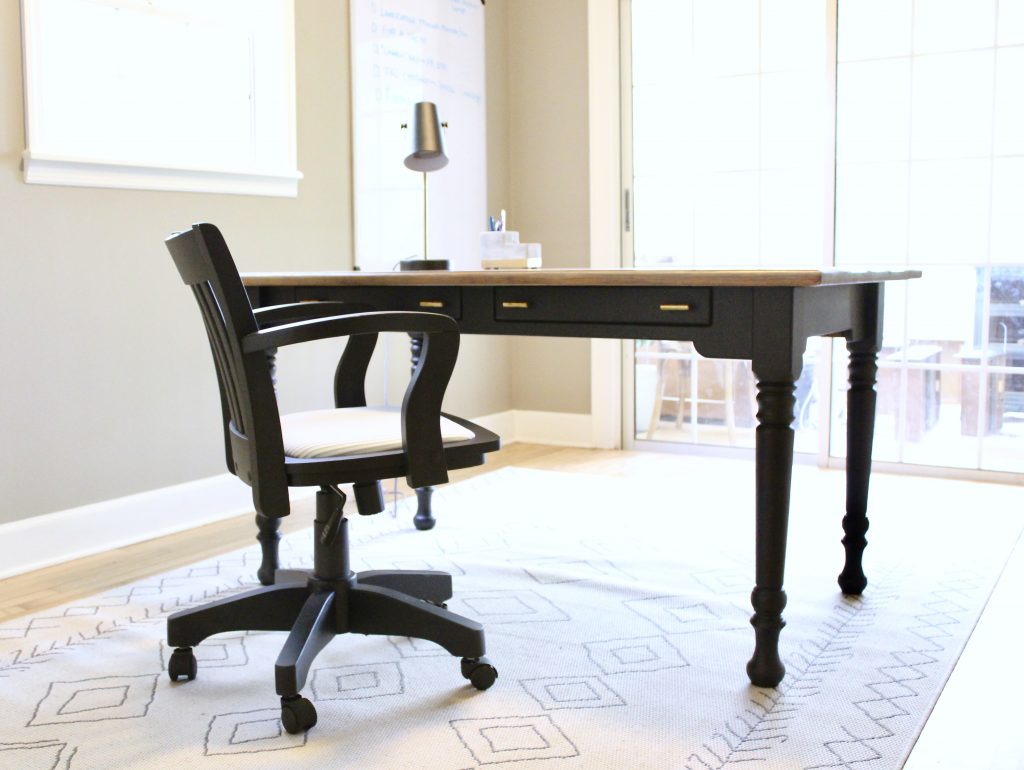
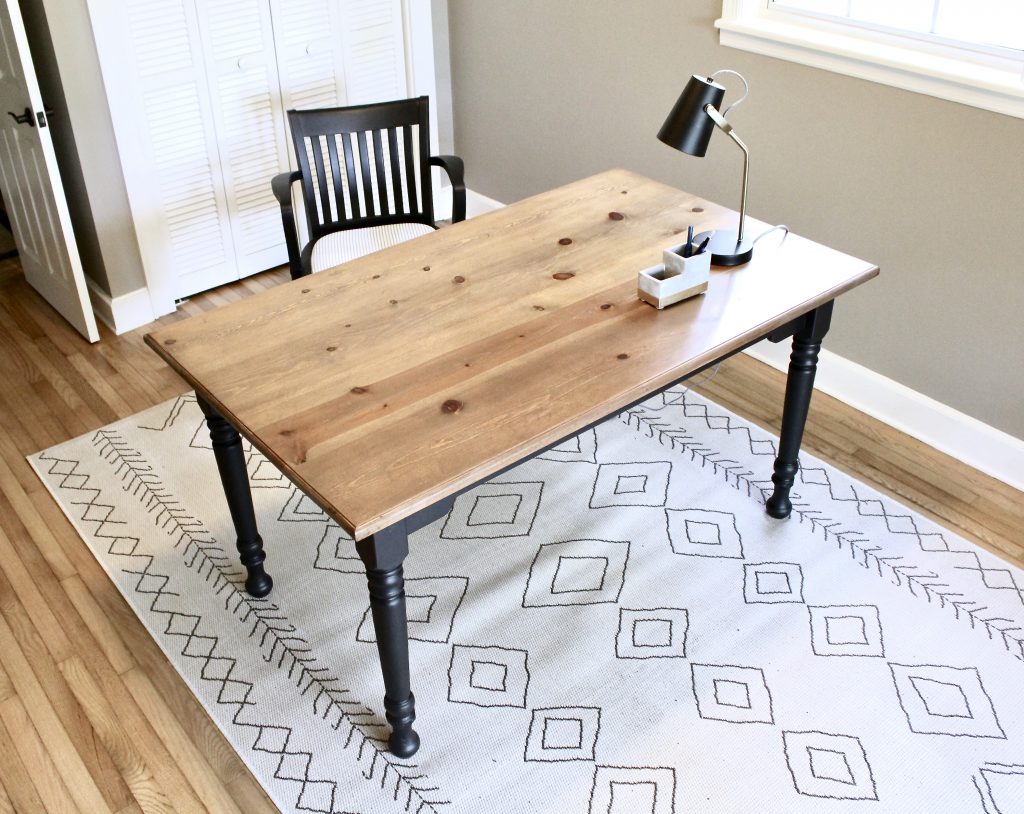
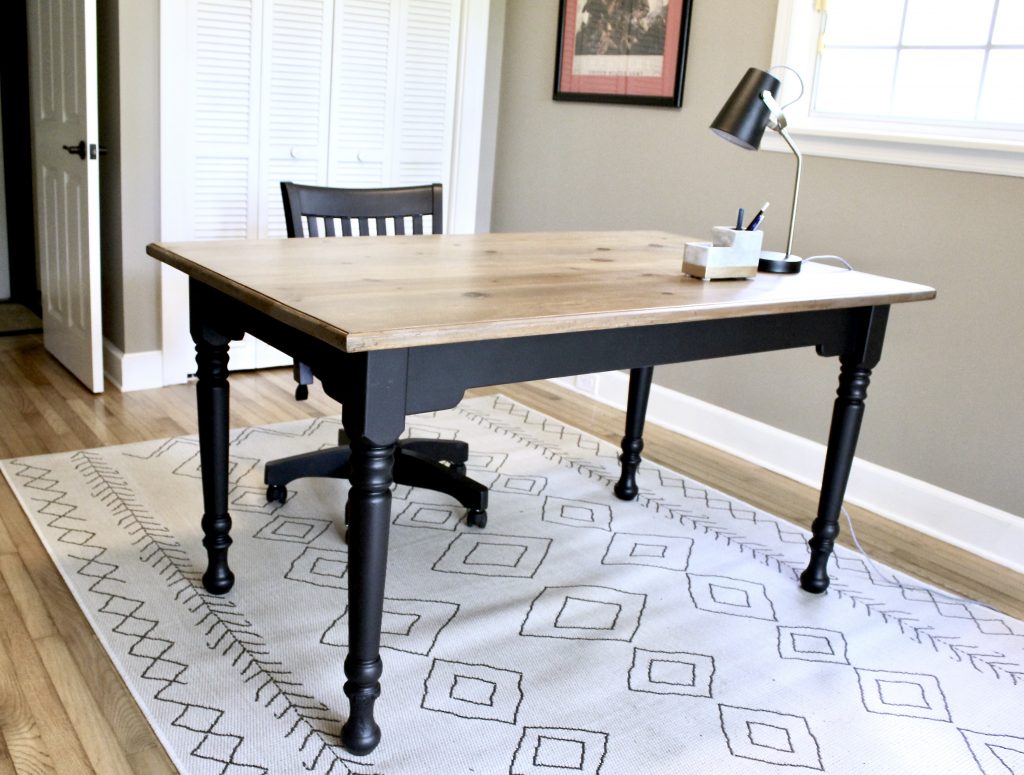
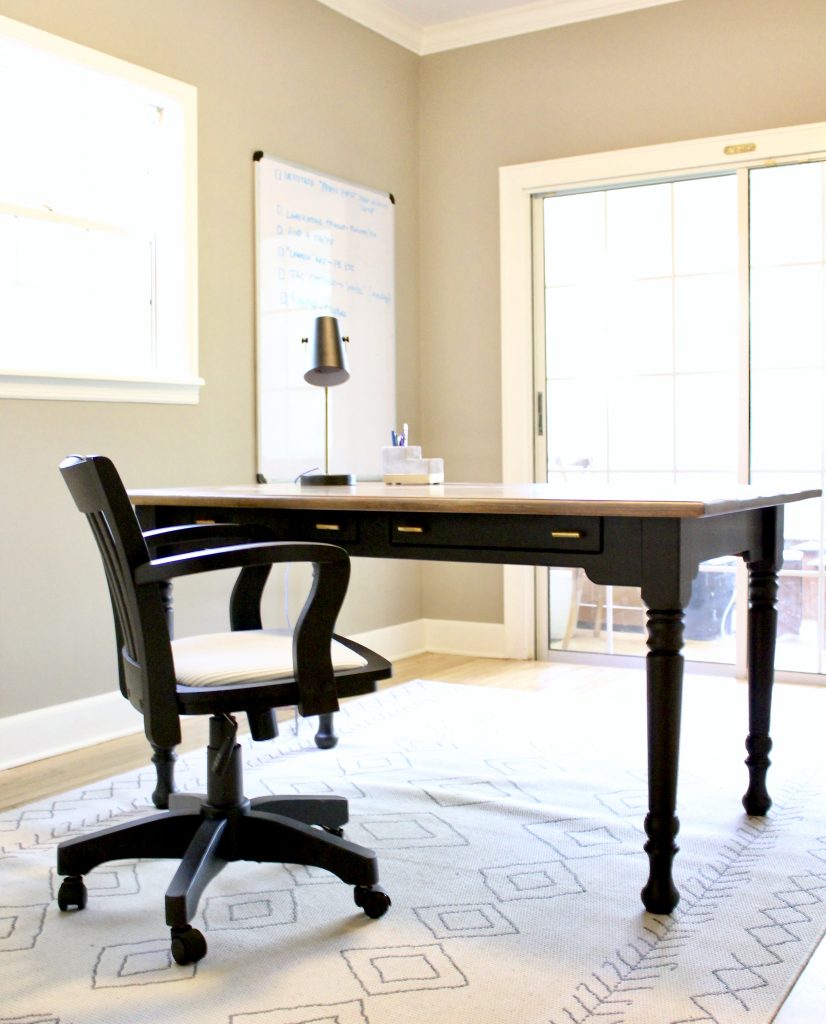
And, here it is after, a modern farmhouse desk!
Here’s what I did:
1. Sand, sand, sand
I started with a rougher grit sandpaper to remove those coats of old varnish. I planned to paint the base, so I needed to sand only the top of the table. Once I got down to the natural wood, I sanded with a finer grit sandpaper to smooth it out (220). Using a small electric hand sander and lots of sandpaper, this took me a few afternoons to complete. I was covered in sawdust and mosquito bites, but it was so worth it once I saw the beautiful natural wood. (Sorry – I totally forgot to take a photo after I finished sanding!)
2. Paint
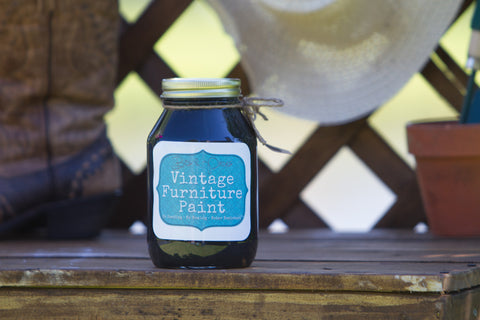
I tried a new type of paint for this project – Vintage Furniture Paint. The owner of a local furniture shop, Sawdust Dreams, swears by it, so I thought I’d give it a whirl. The nice thing about this paint is that it requires no priming, sanding, sealing, or waxing. The color I used is “Pitch Black.” (Isn’t the packaging so cute?? And it’s local – the owner is from Jacksonville.)
Before painting the base, I cleaned it with soapy water and dried it completely. Then, using a small sponge roller brush, I applied the first coat. I used a small sponge brush to get into the crevices and corners. The first coat went on somewhat translucent and dried in about 30 minutes. I applied the second coat, and it completely covered the yucky orange stain.
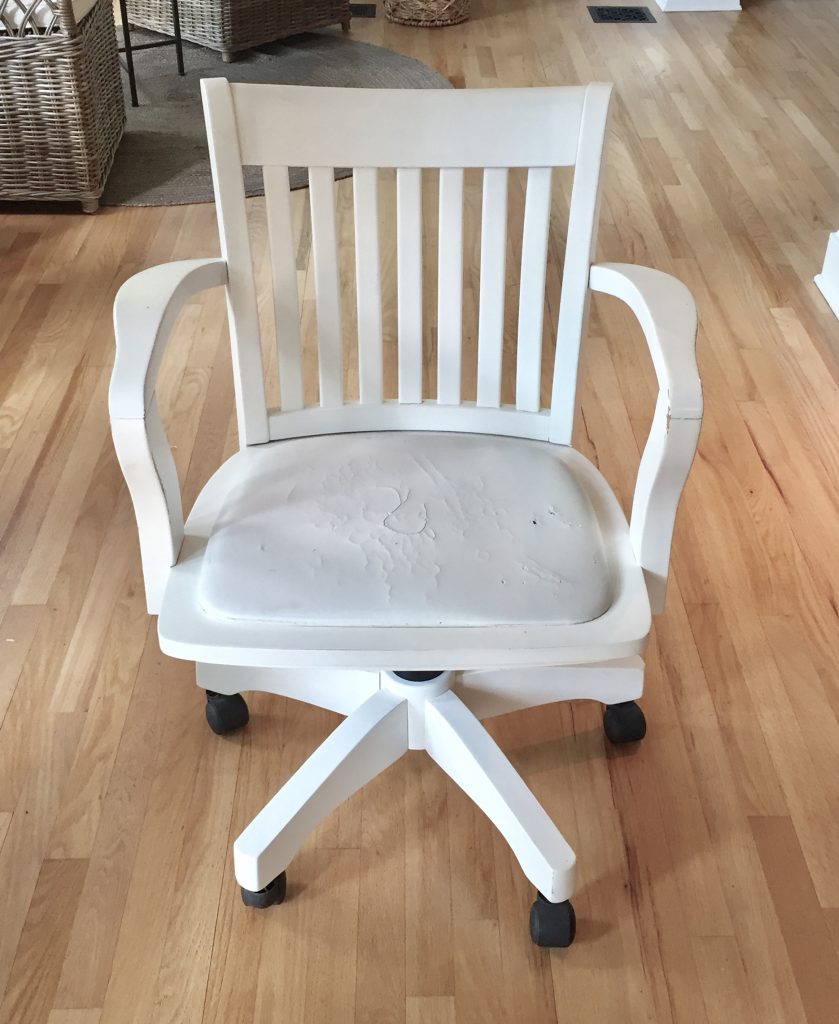
While I was at it, I also painted the old desk chair, which was a shiny white before:
3. Stain
Next, I had to select a stain color. The office has built-in shelves that are stained a dark brown, but I didn’t want to go too dark, because I love the look of natural wood. To achieve a light, slightly weathered brown color, I layered two different stains.
But – before I started staining, I applied a wood conditioner. I had read that this would help keep the stain from looking blotchy. I haven’t used this on other projects, because I was feeling either lazy, impatient, or both. However, because the wood top is the focal point of this piece, I felt it made sense to try here. And, honestly, it did not take much time, and I probably should’ve used it on my other projects, because it really did make for a less splotchy finish.
I used the Minwax Pre-Stain Wood Conditioner and just followed the directions. Before applying, I wiped off the surface of the desk with a dry cloth, then a damp cloth, and another dry cloth to remove any dust. Then I applied an even layer of the wood conditioner using a wide brush and let it dry. For best results, the stain should be applied within two hours of applying the conditioner.
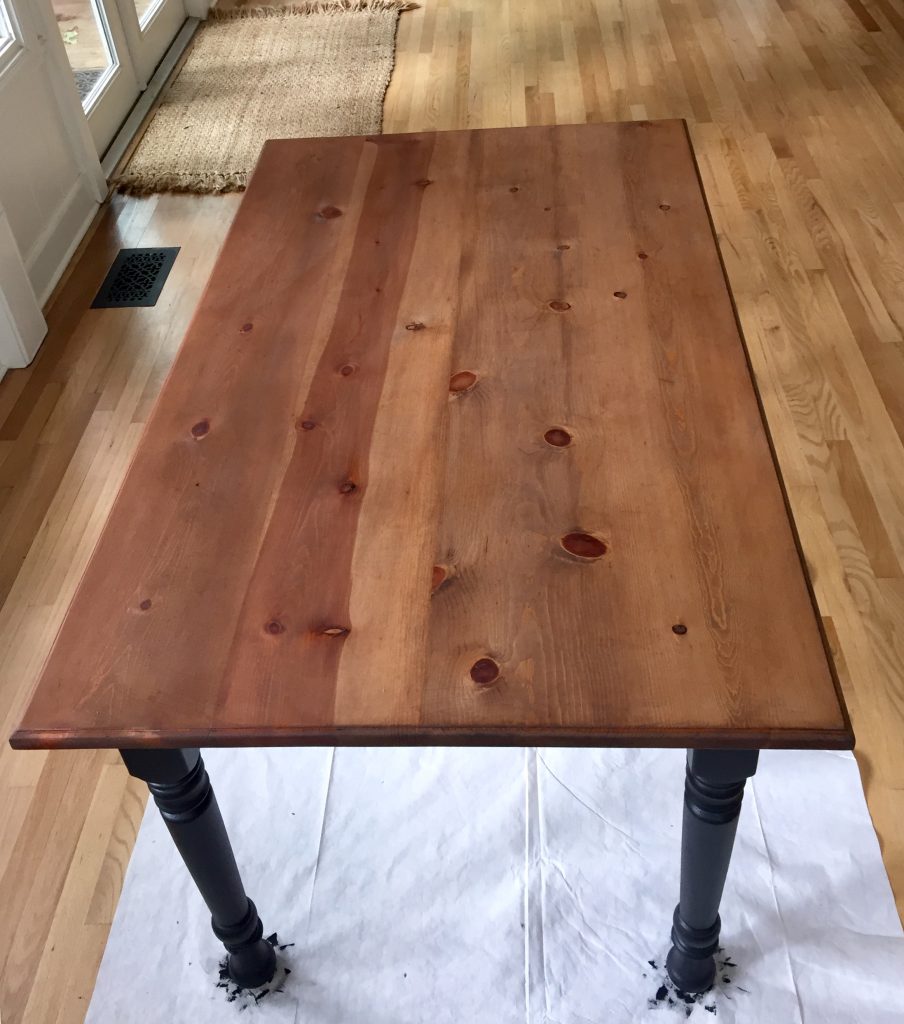
For my first coat of stain, I used a bristle brush and applied a thin layer of Minwax Special Walnut. This is my favorite brown stain, and I’ve used it on other projects in my house. I did not want it to be very dark, though, so I applied it in sections and wiped it off immediately with a cloth after applying it. Then I moved on to the next section. This is how it looked after one coat:
To lighten it up, I then applied a coat of Minwax Weathered Oak, which is a brownish-gray color. I also applied this in sections, but I let it sit longer to let the color penetrate more. After about 5 minutes, I wiped off the stain. This is how it looked when I was done:
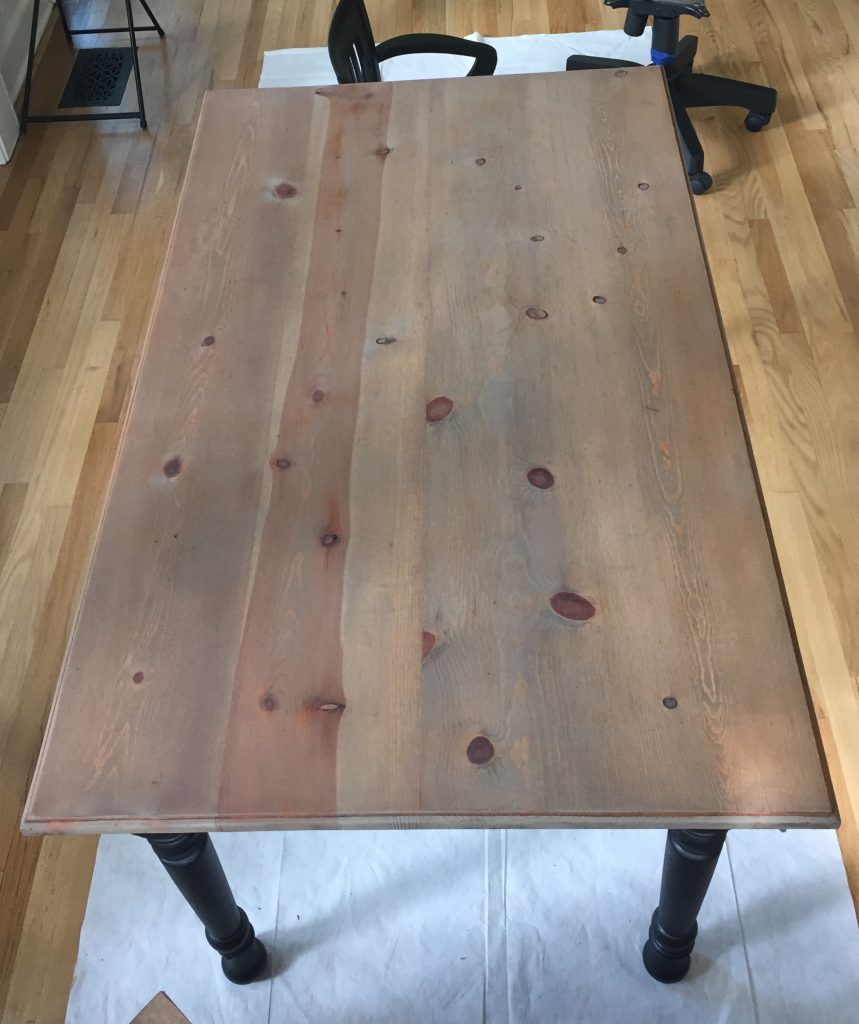
It was exactly the look I was going for! Kind of that Restoration Hardware-like finish (but, you know, without spending $1,000+).
(p.s. – My friend, Elizabeth at the Within the Grove blog – another Florida home and DIY blogger – has a great post showing different stains on different types of wood. You should definitely check it if you plan on staining anything soon!)
4. Seal
Again, on other projects, I’ve been too lazy/impatient to apply a sealant, but it seemed important here to protect the desk top. I don’t like shiny furniture, so I used a sealant with a matte finish, Minwax Polycrylic Protective Finish in Matte. Because the stain I used was oil-based and this sealant is water-based, I had to wait at least 24 hours before applying the sealant (it has something to do with letting something evaporate from the stain, but I know you’re not here for the science lesson).
Using my best synthetic brush, I applied a thin even coat down the length of the desk top in the direction of the grain. I overlapped the sections slightly so it wouldn’t leave lines or ridges. Then, after drying for a couple hours, I lightly hand sanded it with a fine grit sandpaper (220). I wiped off the dust with a damp cloth and repeated this process two more times. I did not sand it again after I applied the third coat. This was a long process, but the top looks and feels so smooth now.
5. Pretty it up
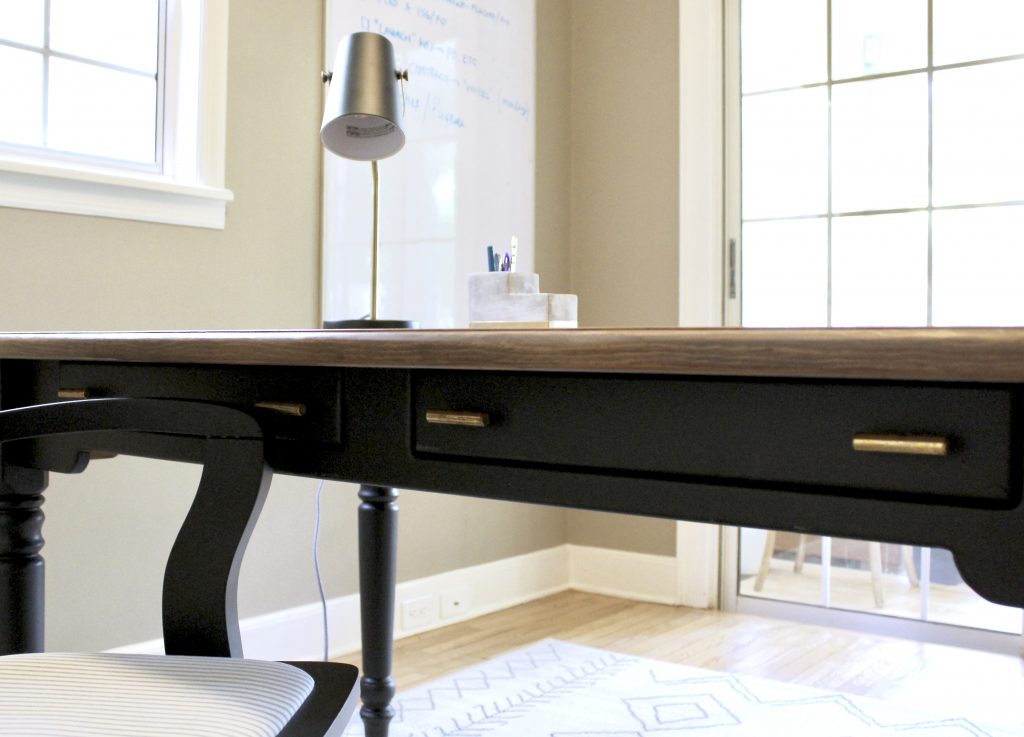
I replaced the old plastic white knobs, with some modern gold drawer pulls that I found at Hobby Lobby for 50% off.
And that torn up old chair? I removed the old seat covering and recovered it with blue ticking stripe fabric.
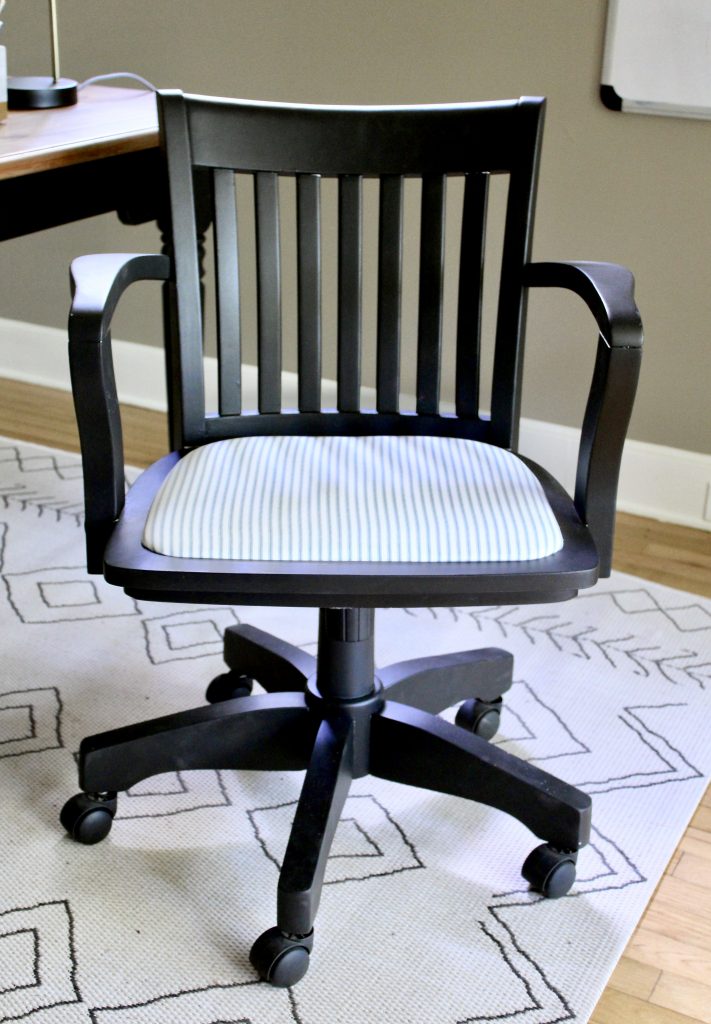
I’m so happy with how this project turned out, and my husband is, too. I’m hoping to reveal the complete office makeover soon – stay tuned!
See something you like? You can shop the post here!
Click the red “Save” button below to save to Pinterest!





Amazing! It took time and patience but well worth it Liv. Beautiful!
Love
Mom
Thank you!
Looks great! Always had a can of Minwax Walnut Stain in my work area.
You’ve always had good taste
Looks Great !!!

An inviting office space ~ no clutter !
Relaxing view ~~
You “nailed” it
Thanks! Moved the clutter out for the photos
Love it! Nice work, Liv.
Thanks lady!
Nicely done!
Thank you!!
Wow the desk looks wonderful! Awesome job
Thank you!!