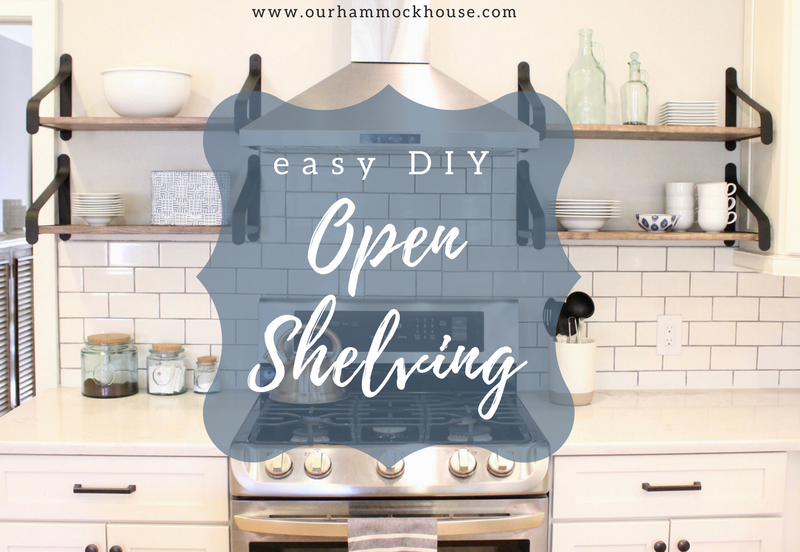
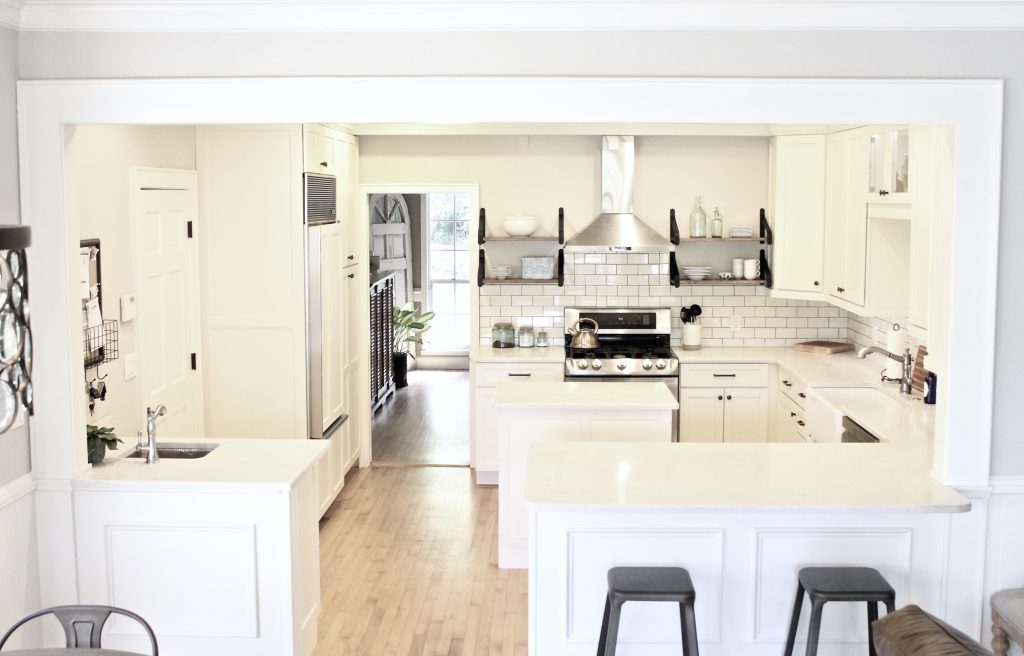
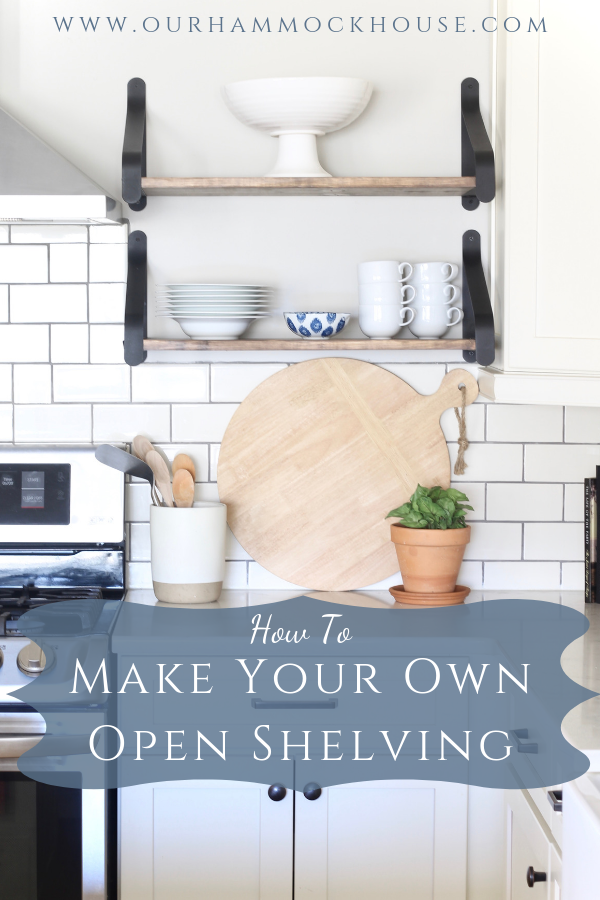
When I was designing our kitchen, I really wanted some sort of open shelving on either side of our range hood. Although we could have ordered shelves from the cabinetmaker, I wanted something more casual (and cost-effective). So, we decided to make our own shelves.
This project did not take much time or expertise to complete. And, I’m not much of a handyman, so if I can do it (with the help of my much handier husband), then so can you!
Step 1: Measure the Shelf Space
Measure the space where you want to hang the shelves – width and height. This will help you determine what size brackets to buy. To get a sense of how much room the shelves will occupy, you can use painters tape to mark off on the wall where the shelves will be. Once I saw the tape on the walls, I was able to visualize how big I wanted the brackets.
Step 2: Buy the Brackets
There are a lot of places you can look for shelf brackets. Just search for “shelf brackets” online. I found my brackets on Amazon. I didn’t have a specific design in my mind. I knew I wanted black or dark bronze to coordinate with my cabinet hardware, and I wanted a look that was somewhere between industrial and rustic. I liked the unique shape of the brackets and felt that they would help fill up some of the wall space.
One of the main selling points for me with these brackets, though, is that they could be screwed into the wall above the shelves. This was important because it meant that we would not have to drill a hole through the backsplash tile. There is a way to do that, and other bloggers have advice on that, but I was not brave enough.
In terms of size, keep in mind your initial measurements. If you want your shelves to be deep and strong enough to hold dinner plates, you’ll need longer brackets. The brackets I ordered were 11.5” deep by 10.5” high.
Step 3: Buy the Wood
We bought our wood from Home Depot. They will cut the wood to size for you in the store, which is a big plus. Before going to the store, double-check the measurements for how long your shelves will be. We went to the store knowing that we needed 4 shelves – two that were 23″ long and two that were 26″ long. (The open spaces on either side of our range actually are not equal, but you can’t really tell now that the shelves are up.)
Most hardware stores sell standard size lumber in lengths of up to 10 feet. Those pieces come in different widths (8″, 10″, 12″) and different thicknesses/heights (1″, 2″). So, we knew that we needed to buy one piece of 10 foot lumber and have it cut into 4 pieces (2 x 23″ and 2 x 26″). We also knew that we needed a piece of lumber that was less than 12″ wide, because the wood had to fit into an opening in our brackets that was 11.5″ deep.
If I could have made the shelves thicker, I would have, but my brackets have a 1″ opening to insert the wood so that was my max. But, that may not be the case for the brackets you choose. Just keep in mind that if you buy thicker wood, the shelves will be heavier. We have a pocket door behind the range (and, as a result, no studs to anchor into), so we could not install anything too heavy.
Theoretically, finding the right size piece of wood should be straightforward, however, be aware that the size listed on the sign for the lumber is not the actual dimensions of the wood. For example, a 10 foot length of wood that is advertised as 1″ x 12″ is actually 3/4″ x 11 1/4″. So, do not go solely by what the sign says. Measure the actual piece of wood to be sure that it will fit your bracket. We ended up selecting a 10 foot piece of pine that was listed as 1″ x 12″, because in actuality it was 11 1/4″ wide and would fit into our brackets. Once you’ve picked the lumber for your shelves, ask the salesperson to cut it into the number of pieces you need at your specific lengths.
Step 4: Stain the Wood
I wanted a stain color similar to the color of the table in our breakfast nook, which is a grayish-brown. I bought a few different color stains and tried them in various combinations. (I used a leftover piece of wood from the lumber that we bought for the shelves.) I settled on a mix that was 50% Minwax Special Walnut and 50% Minwax Weathered Oak.
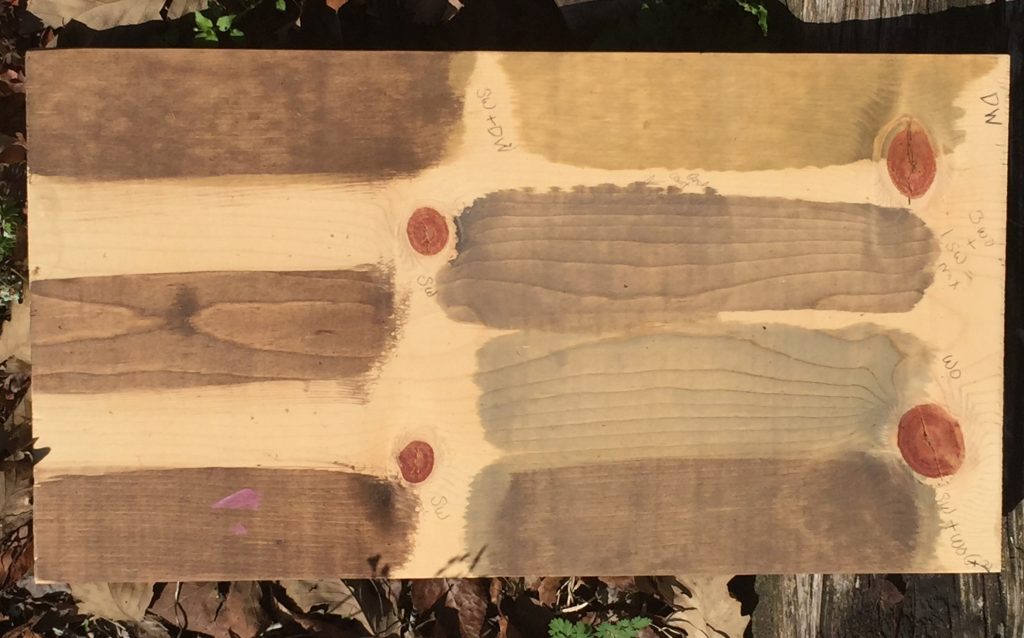
Before staining, I sanded each piece of wood – top, bottom, and edges. Then, because I had never stained anything before, I looked up a few tutorials. In the end, I mixed up my stain and used an old paintbrush that was about 2″ wide to brush the stain onto one side of the wood. I applied one nice even coat – not too thick, not too thin. Be sure to immediately wipe up any drips on the unstained parts. I let the stain sit for about 2 to 3 minutes. Then, I took a paper towel and wiped off the stain in the direction of the wood grain. Because the color wasn’t quite deep enough after one coat, I followed the same process and did a second coat.
After doing the tops of all the shelves in this same way, I did the edges and, once the tops were dry, I flipped the shelves over and stained the undersides of the shelves.
Step 5: Seal the Wood
Because the shelves are in the kitchen, I thought it would be a good idea to apply a sealant. The sealant is a clear coat that will protect your wood from moisture. For any of you who are stain novices (like me), there are different types of sealants that you can use with different types of stains. I personally don’t like how the sealant can make the wood look shiny, so I opted for a matte finish. For this, I used Minwax Polycrylic in Clear Matte. I followed the directions on the container and applied two coats.
Step 6: Hang the Shelves
The first thing you’ll want to do is finalize exactly where the shelves will be hung. One of my husband’s finest qualities is his willingness to – without complaint – hold an object against the wall and move it millimeters at a time until I deem the object’s placement “just right.” So, find someone who will do that for you.
Then, hold the brackets up to the wall, keeping in mind that your wood will add height, and mark where the bracket should be installed. Mark the screw holes with pencil, so you know where to drill. Do this for all the brackets, ensuring that they are level and the correct distance apart. (For your reference, our shelves are 11″ apart, from the top of one shelf to the bottom of the other.)
You’ll want to drill anchors into the wall, before screwing in the brackets. Once your anchors are in place, you can begin installing the brackets. Depending on your brackets, you may need to attach the wood to the brackets before hanging them. Our wood shelves slid into a gap in the side of the bracket, so we installed one bracket, slid in the wood, and then installed the other bracket. (Tip: Check to see if one side of the wood is prettier than the other and put that side up when attaching the wood to the bracket.)
Once you’ve attached the shelves to the wall, take a few steps back, cock your head to the side, ponder whether the shelves are crooked, and then realize that your husband may leave you if you make him drill new holes in the wall. To avoid that, be sure to check that your pencil marks are level before you start drilling in the anchors.
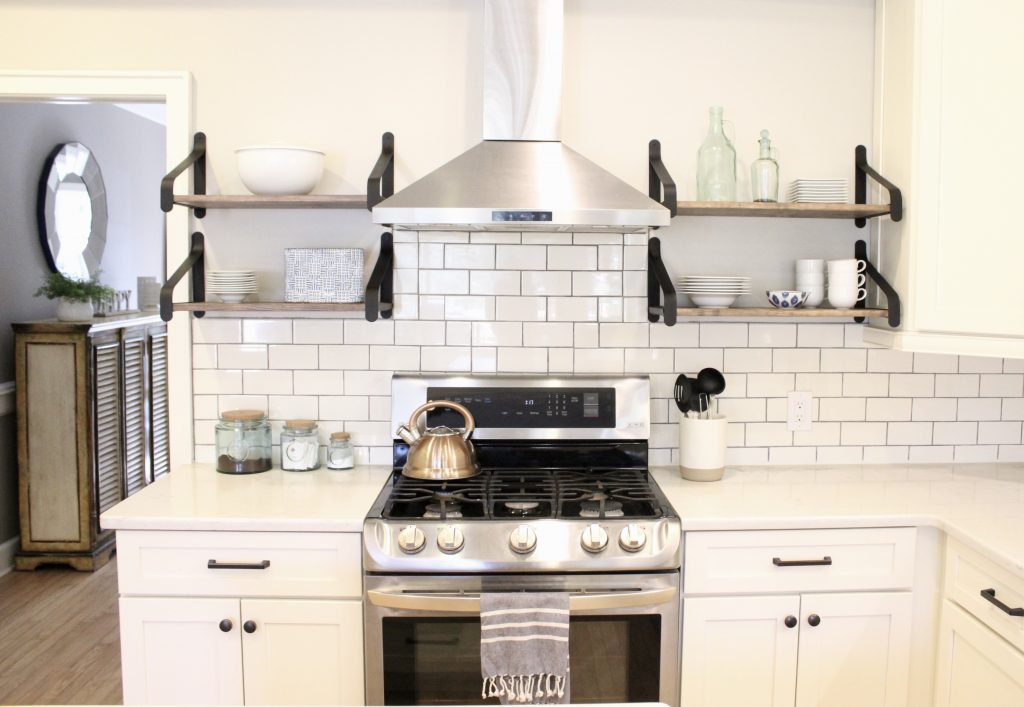
Step 7: Style the Shelves
For some of us, this can be the most challenging part of the project. Styling shelves doesn’t come natural to me, so there are a few general rules of thumb that I follow:
(1) Pick a color palette. For example, I used shades of blue and white. (For more tips on picking a color palette, check out my post on styling built-in shelves!)
(2) Mix up heights and shapes. Try not to put all tall objects on one shelf or all square objects on one side.
(3) Aim for visual balance. Really, you just need to keep trying different vignettes until it feels right (I know…that’s not very helpful). But, that’s part of the fun. Try something, give it a day or two, move a stack of plates to another shelf, and see if that is more pleasing to your eye. There are so many examples of beautifully styled shelves on Pinterest and Instagram. Find some that inspire you and try to replicate the design.
I hope that this was helpful and that you enjoy your open shelving!!
Be sure to save this post to Pinterest for your future project by clicking the red “Save” button below!

Been there done that! Love it, Dad.
It’s true! You are the original master of DIY open shelving!
Love this! Where did you get the pictures above your bed in the master bedroom? Beautiful job, Olivia.
Thanks Heather!! I actually made those prints above the bed. I found some fonts I liked, typed up the lyrics, and had them printed. I’ll do a post on it soon!
I absolutely love your work I’m working on a few shelves myself would love to share my work with you please email me back I need idea hints
Thanks! I hope the shelf tutorial is helpful!