For over a year, I had been looking for a large piece of art to hang in our living room. When I finally found “the one,” it was $800! That was definitely outside my budget, so I thought I’d take a shot at making my own painting, inspired by the designer piece.
I’m sharing the details of how I made my own large DIY framed abstract landscape art for less than $60.
This post contains affiliate links for your convenience. My full disclosure is available here.
The Inspiration
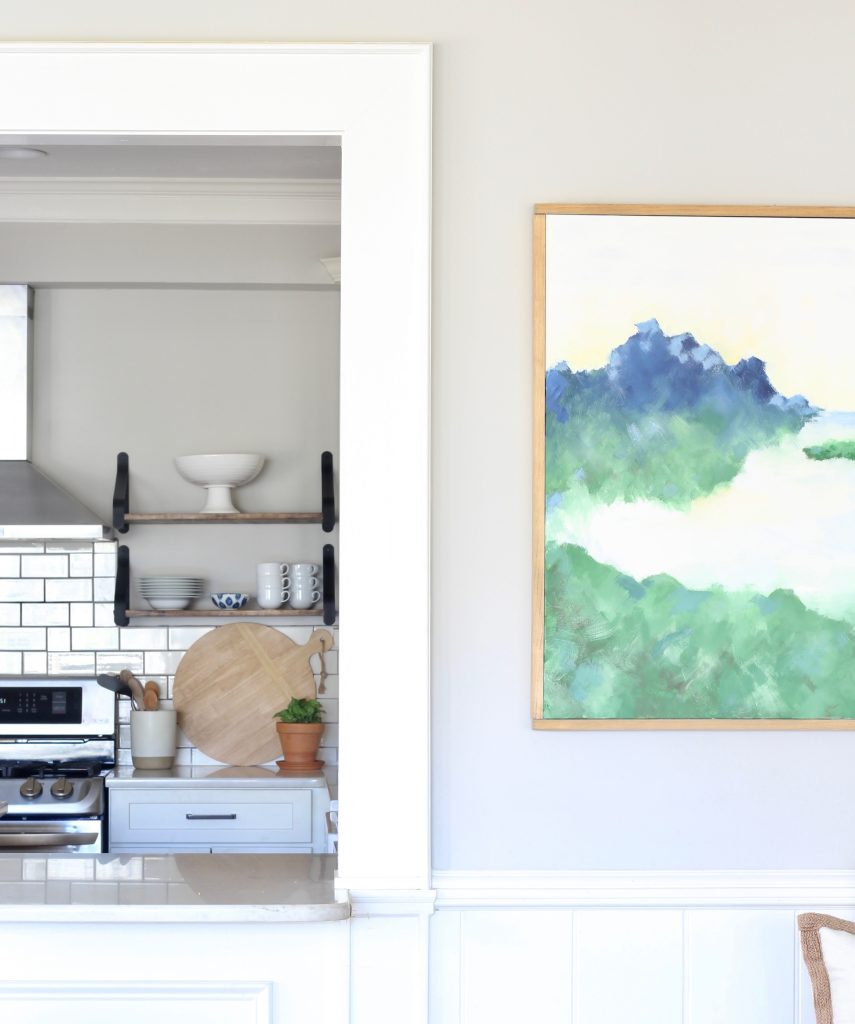
I was looking for a piece of art that “really tied the room together.” This meant incorporating colors from our kitchen and our living room. Blue, yellow, and white books, and natural wood objects fill the built-in shelves in our living room. Our kitchen is white, with touches of blue, natural wood, and green plants.

The entire back wall of our living room is windows, which gives a view of our lake and trees. So, I wanted a piece of art that would “bring the outside in.”

I scoured the internet and our local decor stores for a piece that fit the bill: a large, nature-inspired painting with shades of blue, green, yellow, and white. And, I found this beauty from High Street Market:
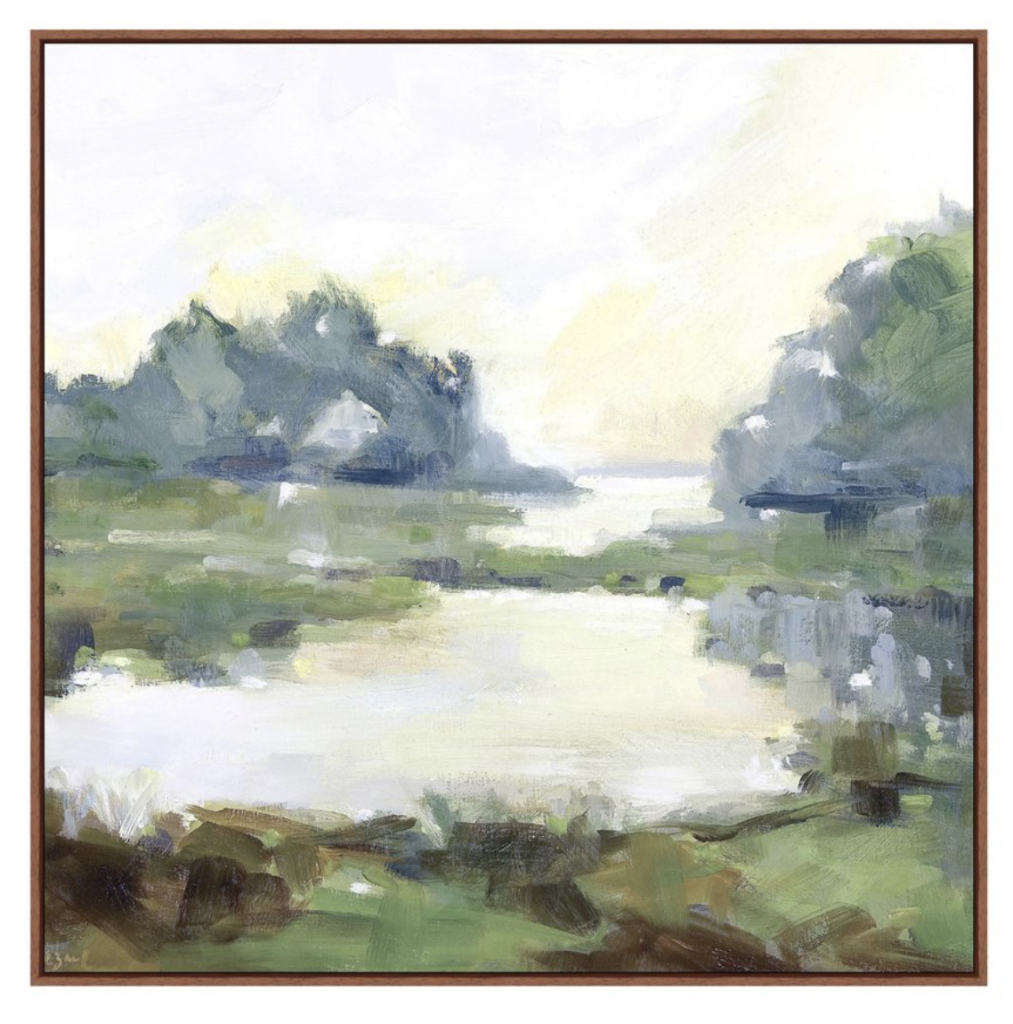
Unfortunately, this lovely piece of art was $800+ and outside my budget. So, I decided to try my hand at making my own painting, inspired by this piece.
The Process
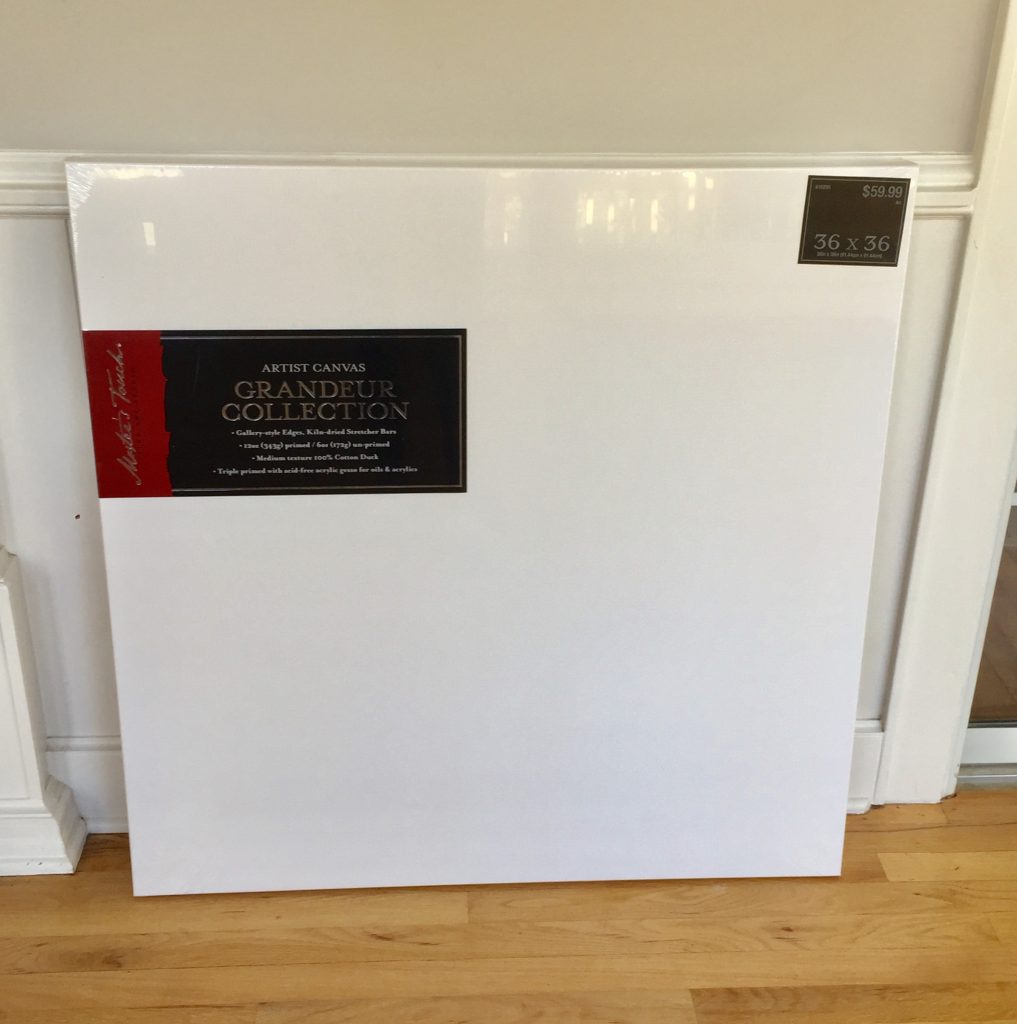
Step 1: Gather Materials
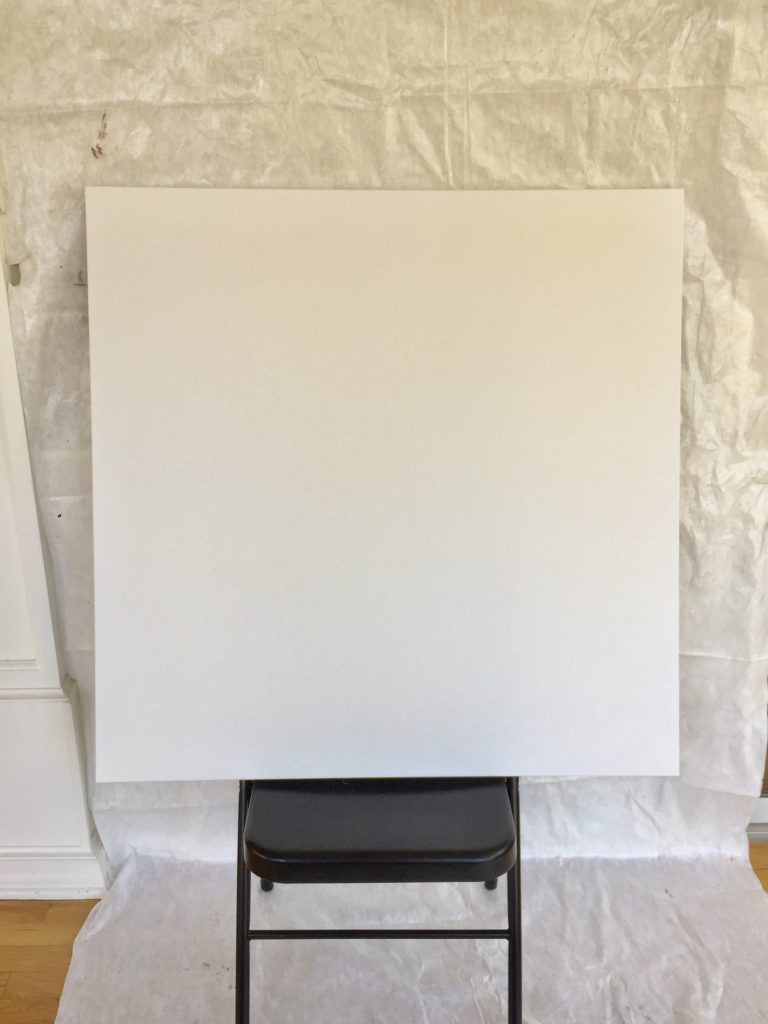
I purchased a 36 inch square canvas from Hobby Lobby. With the 40% off coupon, it was $36.
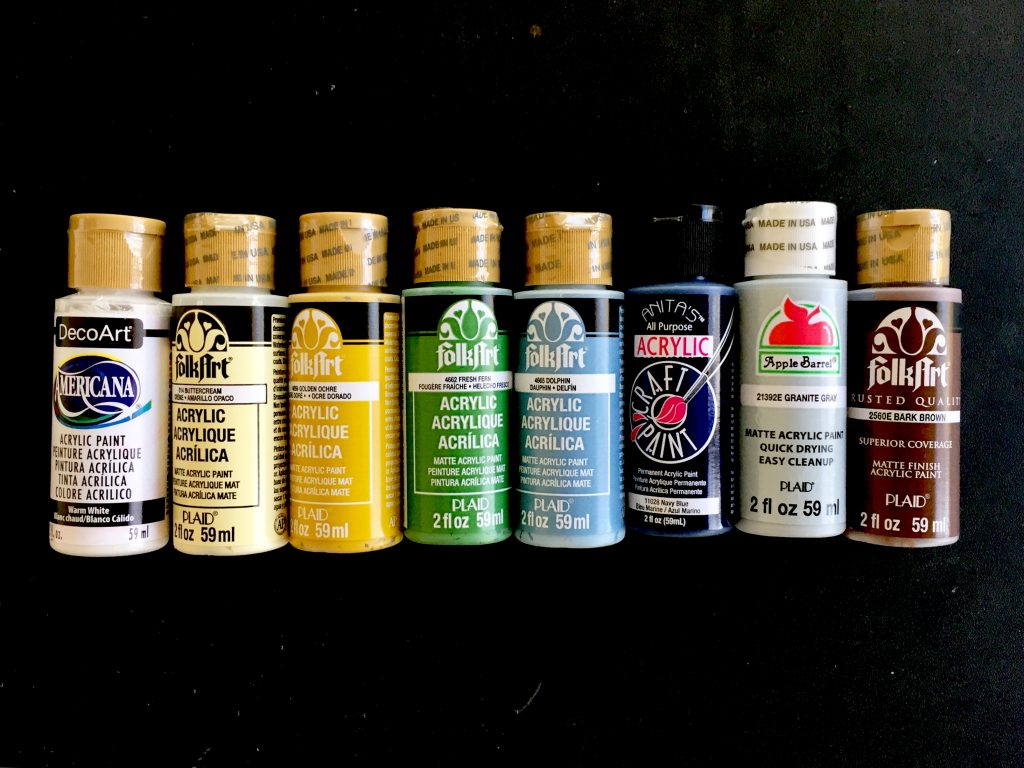
I used an assortment of acrylic paints in colors that coordinate with the colors in our home – greens, blues, whites, yellows, grays, and brown. These are just basic craft paints that cost about $2 each. The colors are more vibrant than the inspiration piece.
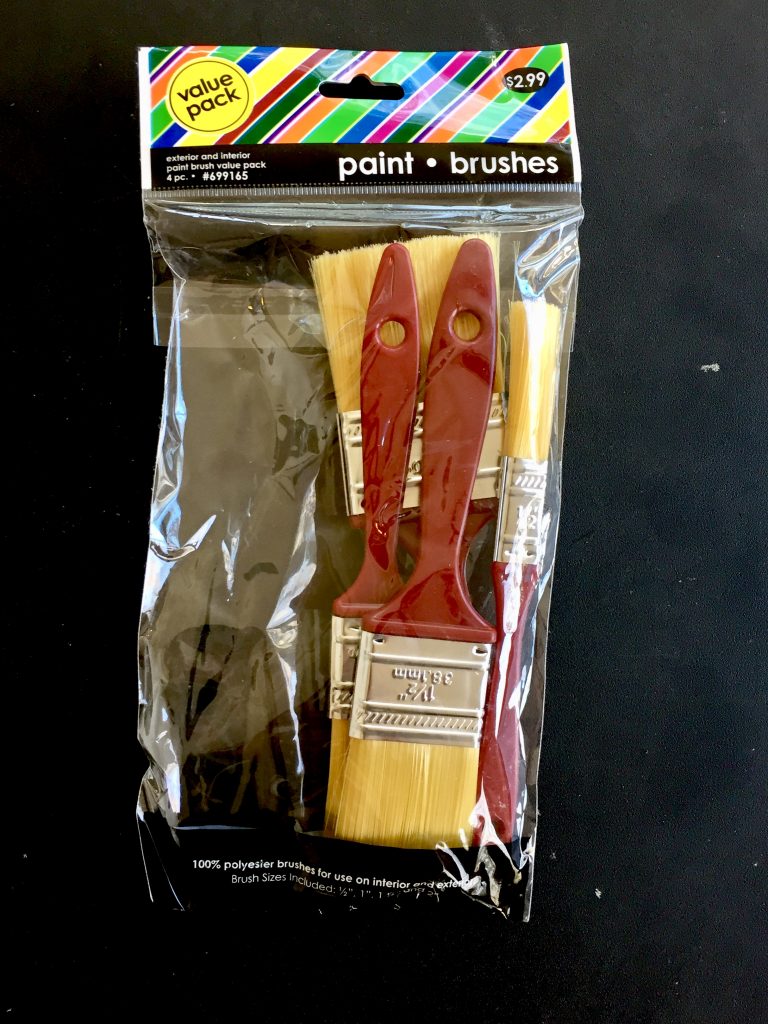
Finally, I got some very basic, cheap paint brushes. Seriously, I was going majorly budget on this project, just in case it turned out awful.
Step 2: Set Up Workspace
I set up shop in the room where the painting would hang, so I could keep an eye on my inspiration colors and the lighting would be the same. I taped a drop cloth to the wall and set the canvas up on a chair. I also printed out a photo of the inspiration piece and taped it on the wall.
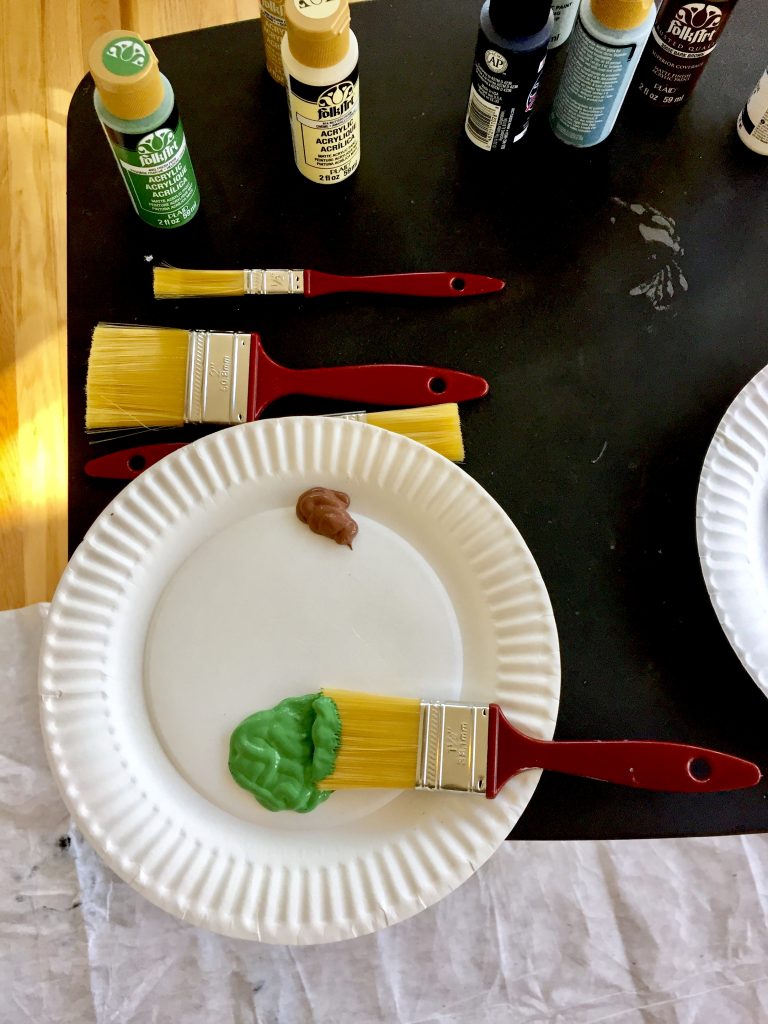
I arranged the paints on a folding table, got some paper plates to use as my “painting palette” (again, super budget), turned on my favorite Bachelor recap podcast, and got to work.
Step 3: Paint
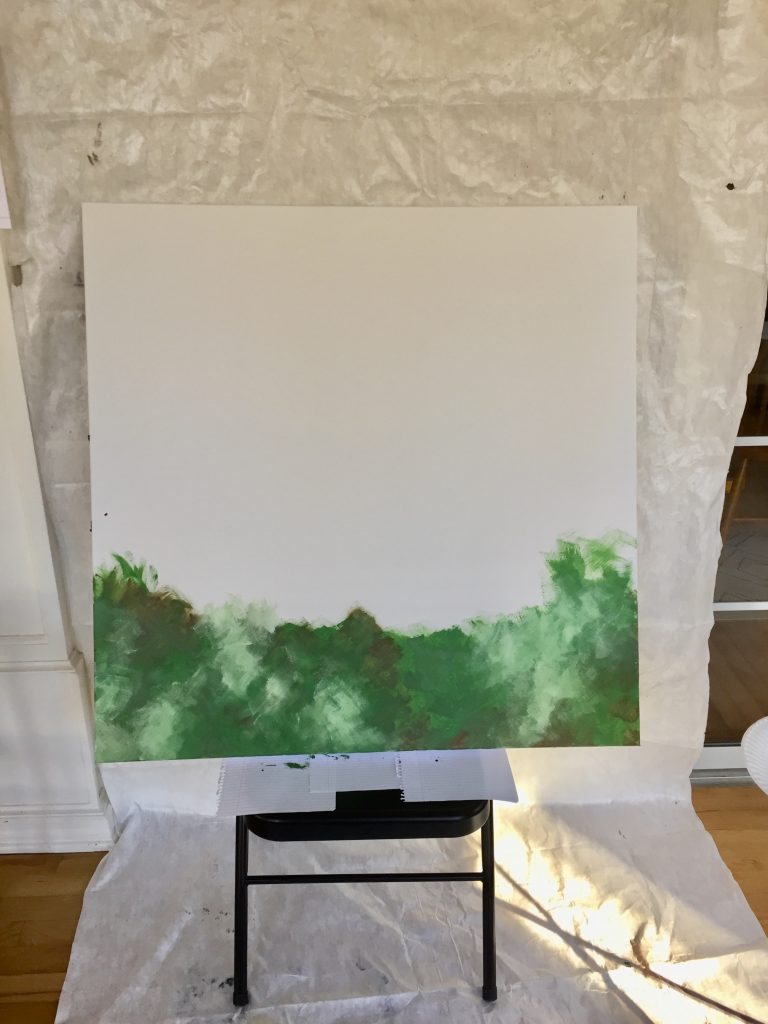
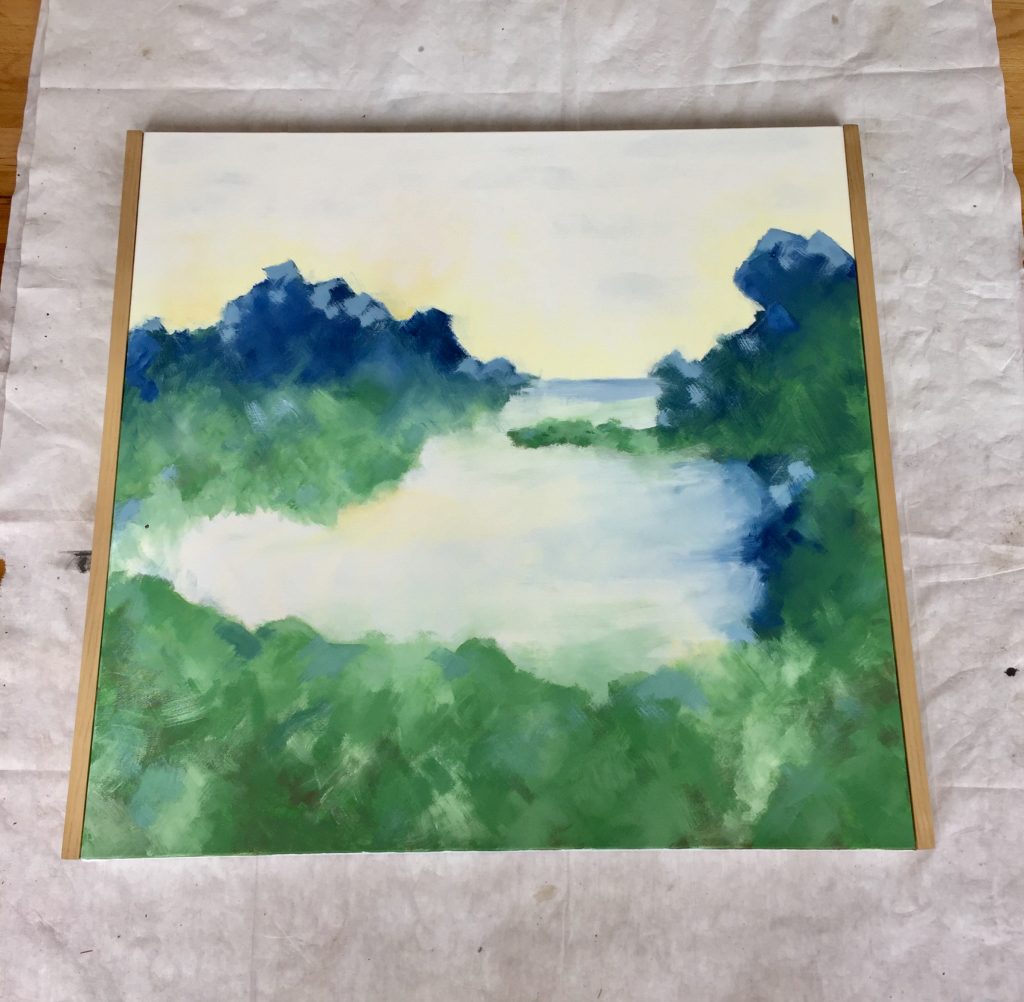
I divided the canvas up into thirds and began working on the bottom third, looking to the inspiration piece for guidance. I put only a small amount of paint on my brush and used criss-crossing brush strokes (like an X). I started with green, then added some brown, white, and light yellow.
Then, I worked my way up to the next third, adding more green and transitioning to blue.
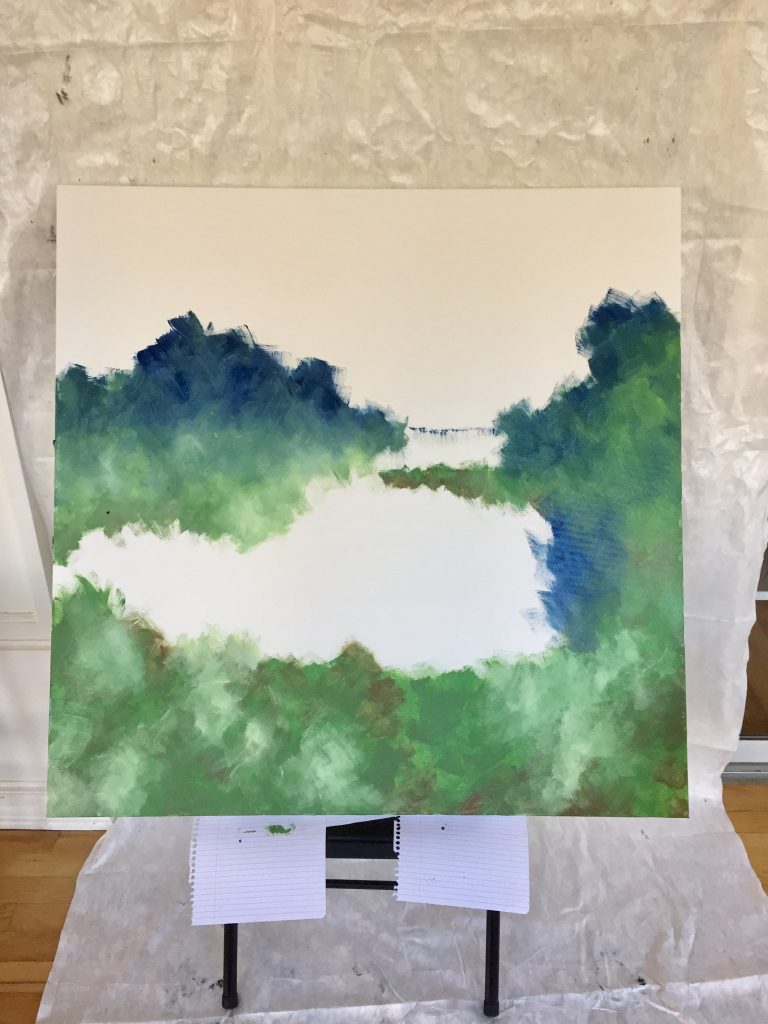
Next, I filled in the white areas (what I imagine to be the lake and the sky) with yellow, white, gray, and light blue. I used longer side-to-side strokes for these areas and blended along the edges.
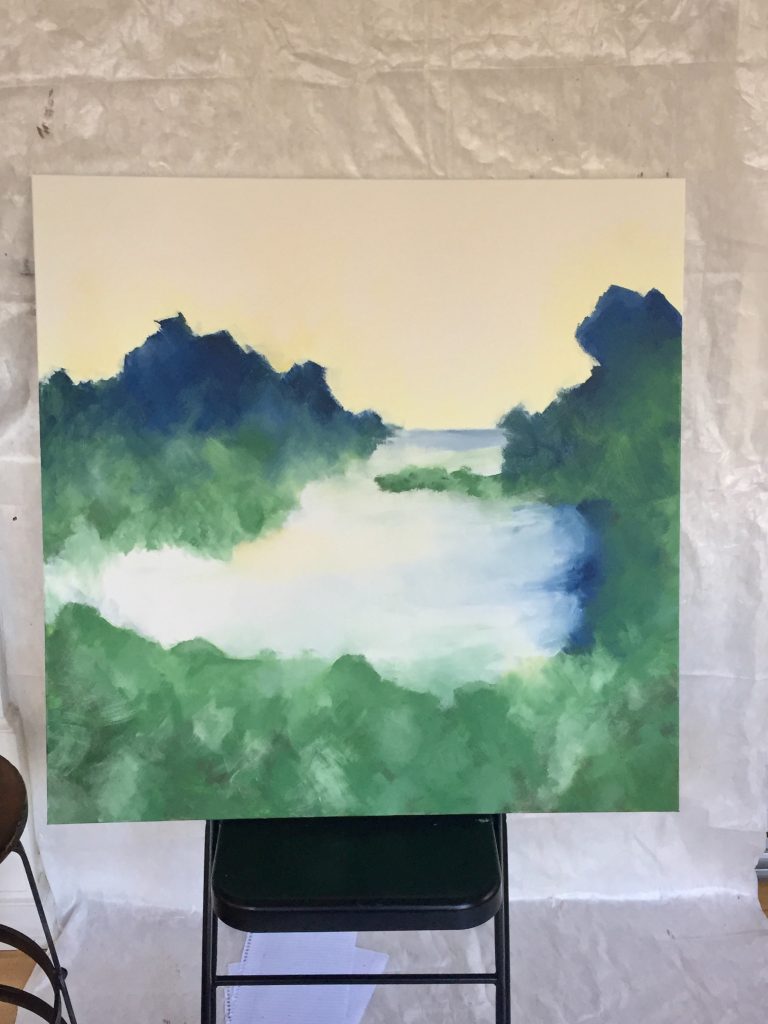
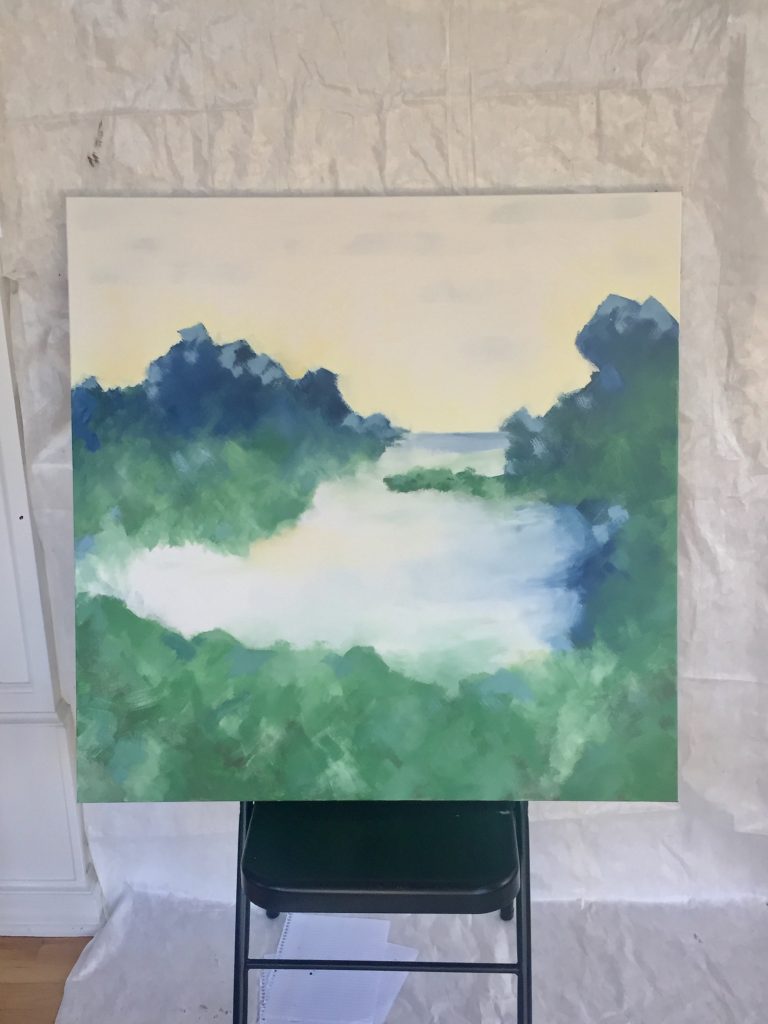
At this point, the entire canvas was painted. But the colors looked too saturated and a bit flat. So, I added touches of white, gray, and light blue throughout. These highlights made a big difference. Satisfied, I put away the brushes before I ruined a good thing.
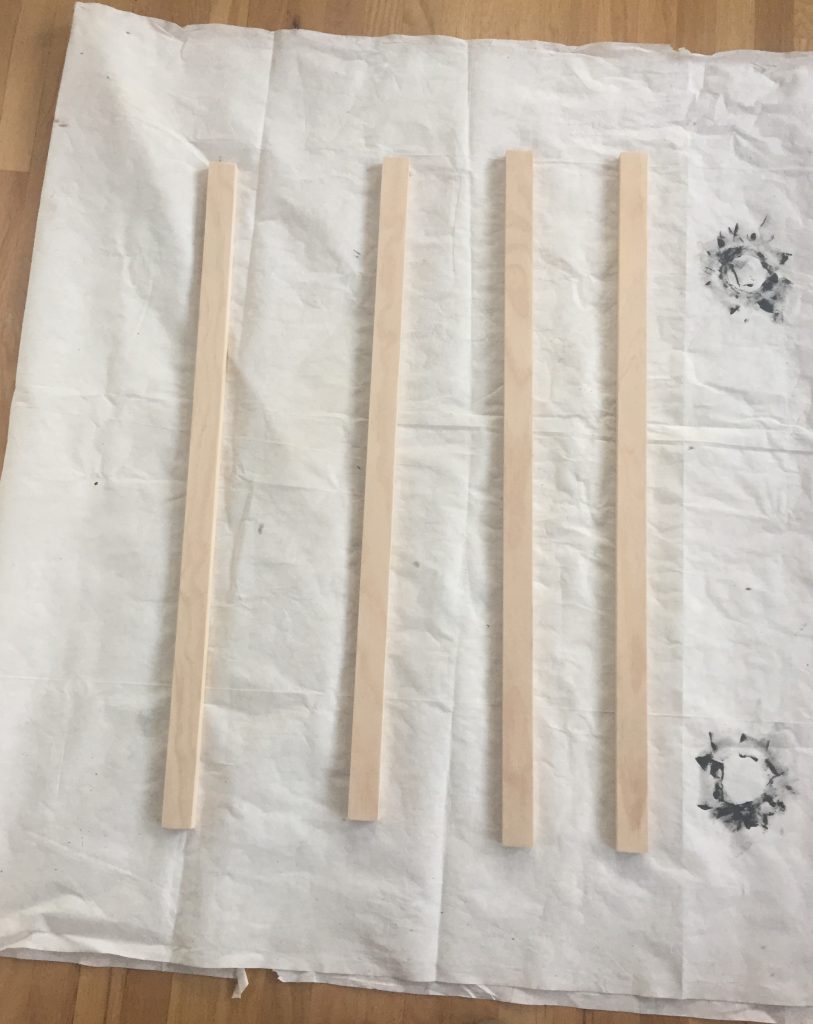
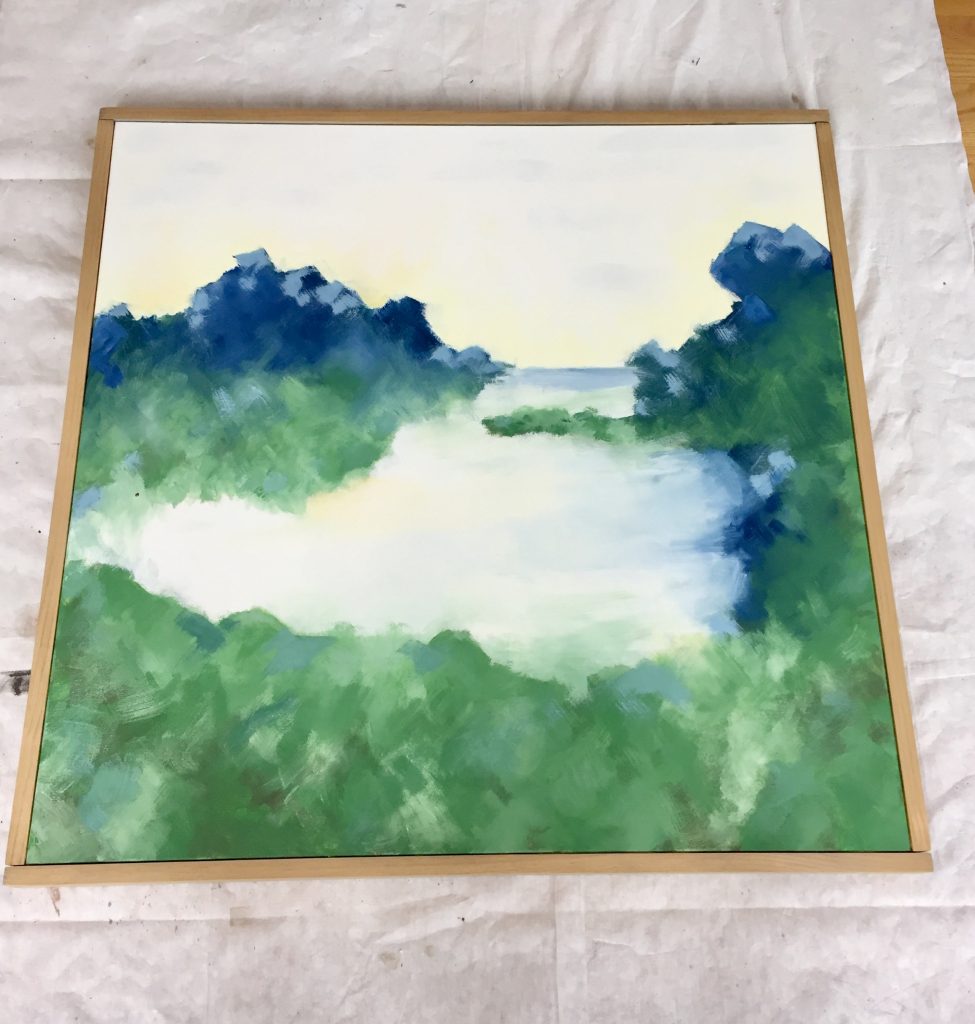
Step 4: Build the Frame
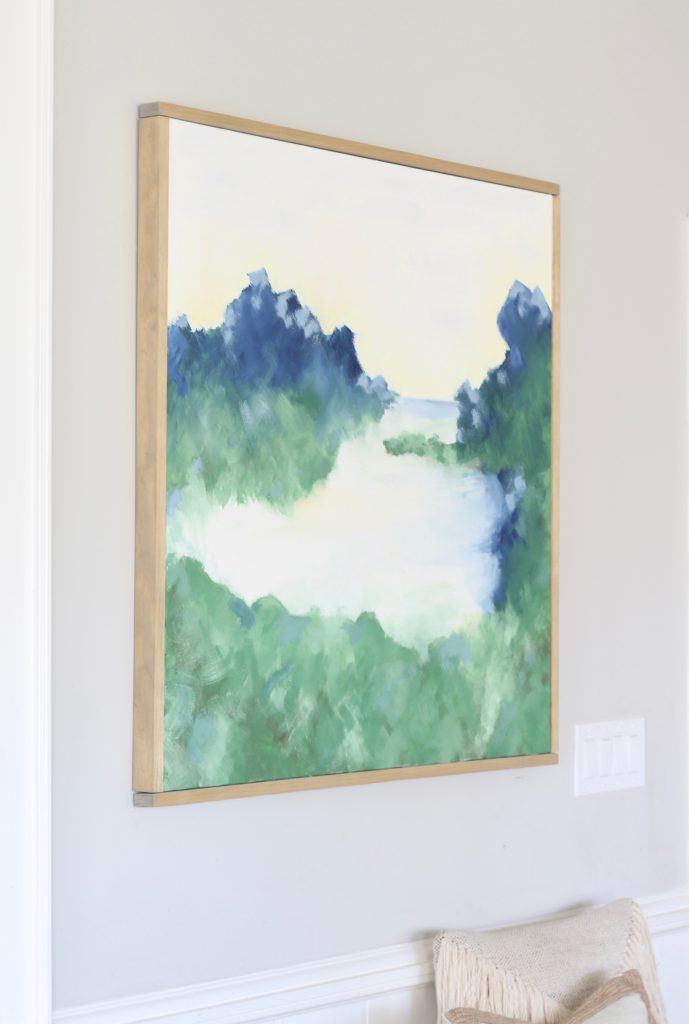
For the frame, I used 1×2 pieces of basic lumber from Home Depot. At the store, they cut two pieces to 36″ and two pieces to 37 1/2″, so they would overlap and form a square.
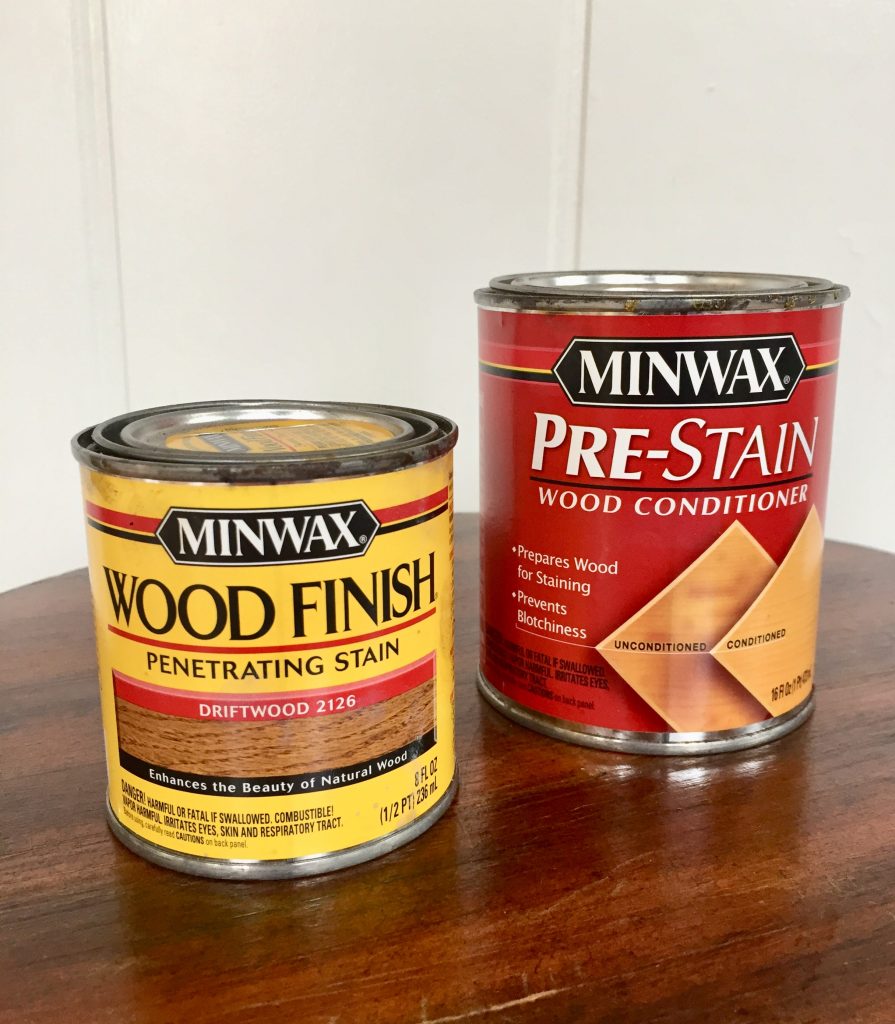
Then, I stained the pieces of wood. I prepped them first with a wood conditioner and then stained them using Minwax Driftwood to (hopefully) match the color of the living room bench.
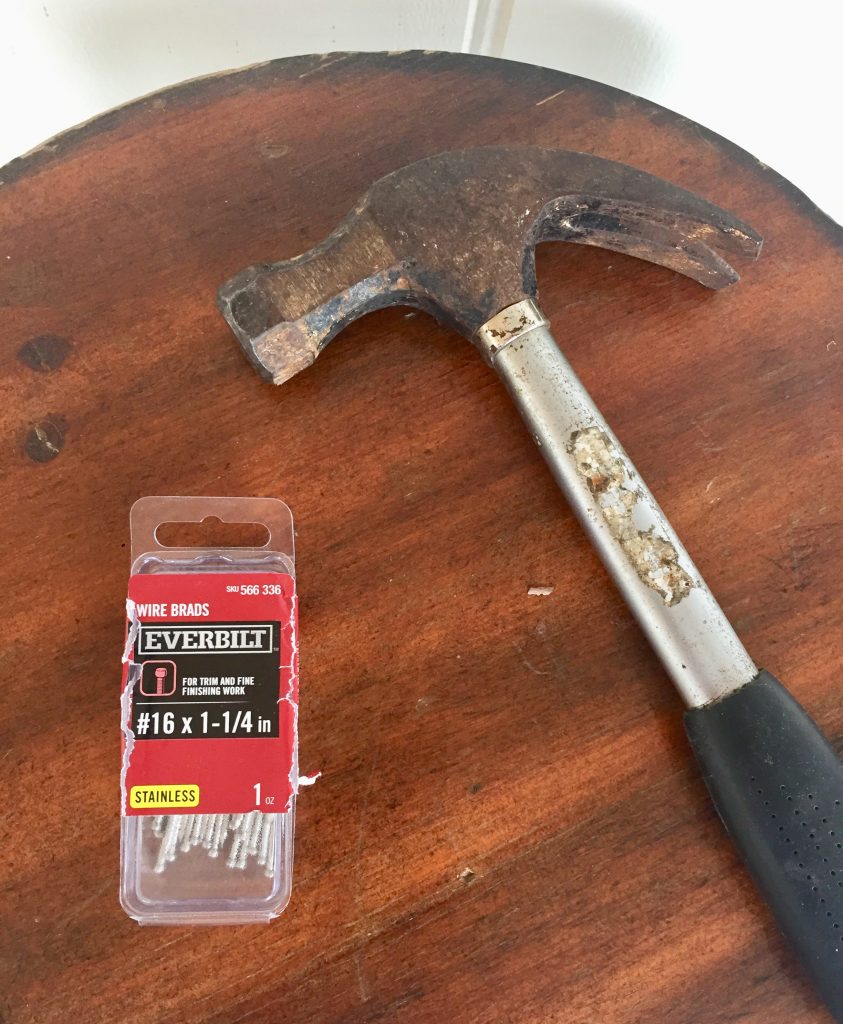
After the stain was dry, we made the “frame.” This required an extra set of hands, so my husband helped out. This isn’t a true “frame” – we just nailed each piece of wood onto the sides of the canvas using 1 1/4″ brad nails.
First, we nailed the 36″ pieces on to the sides, hammering a nail into each end and one in the middle.
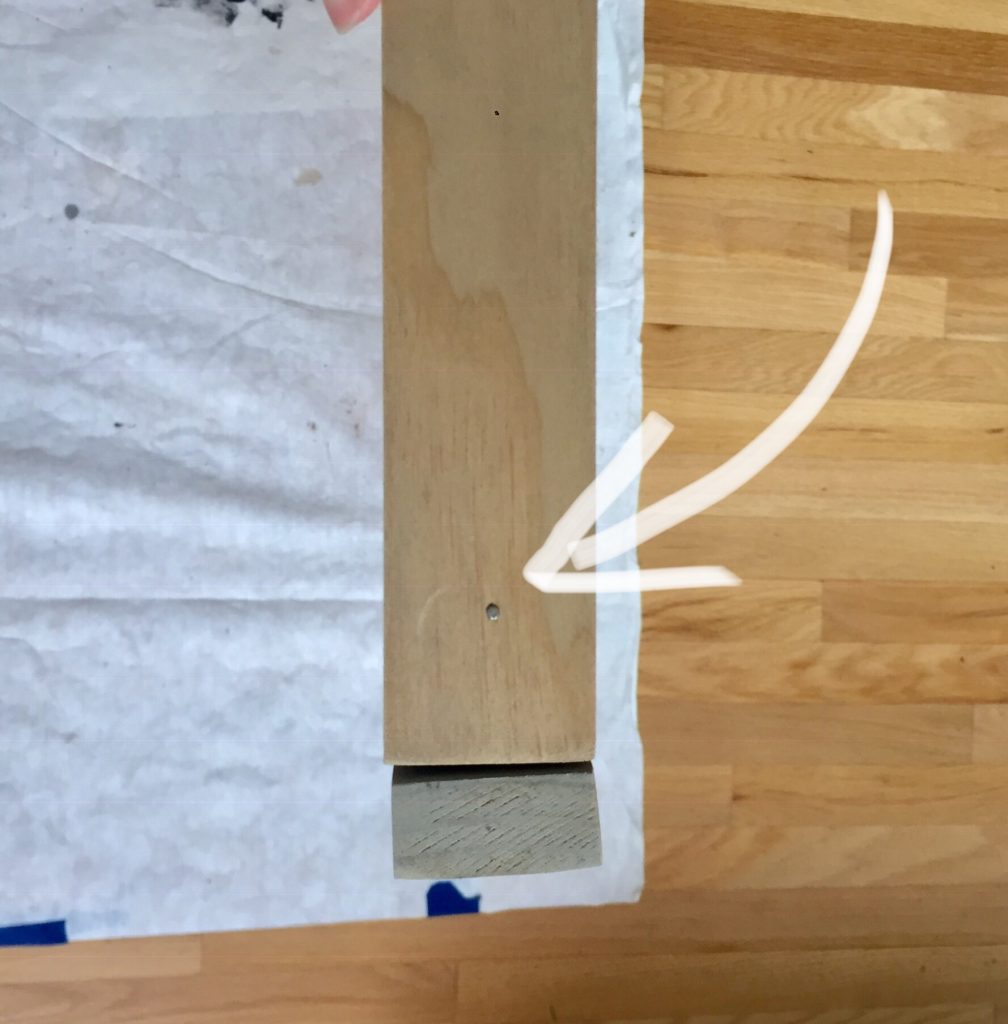
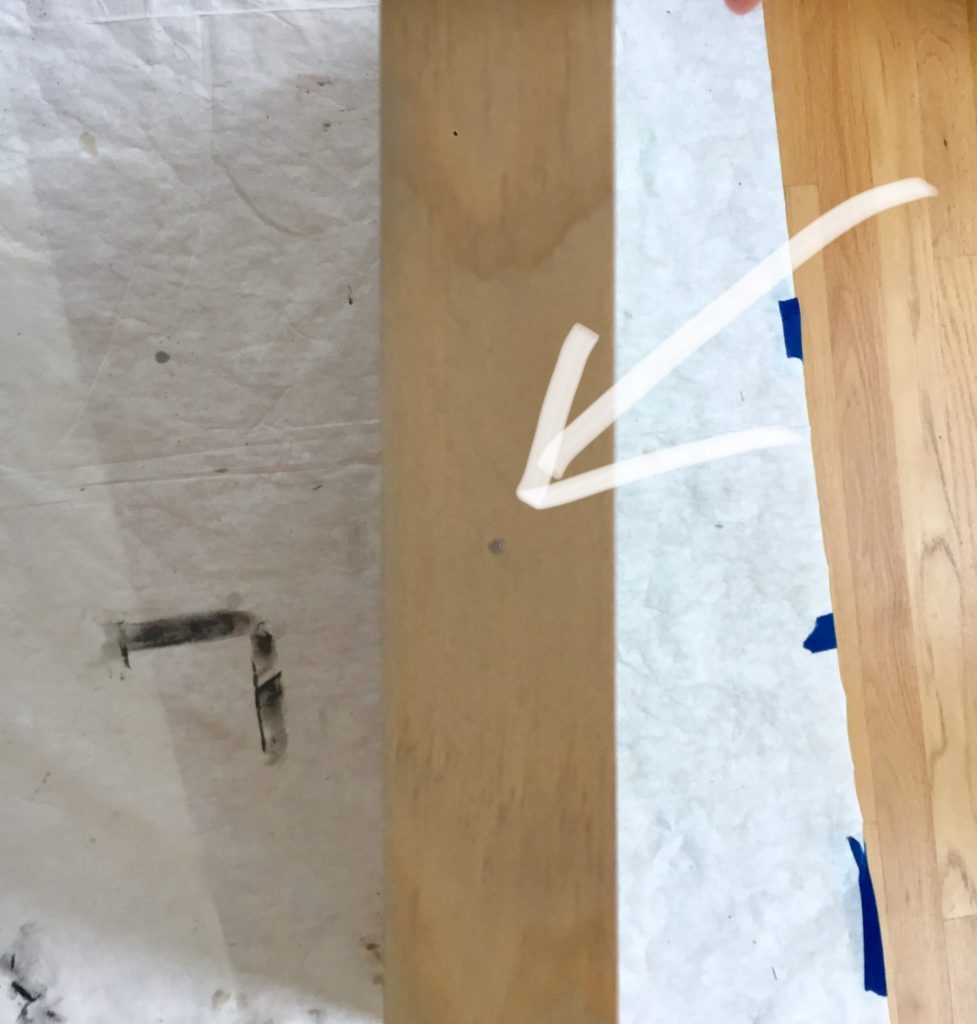
Next, we attached the longer pieces along the top and bottom, nailing into the ends of the previously attached pieces of wood and in the middle. And we were done!
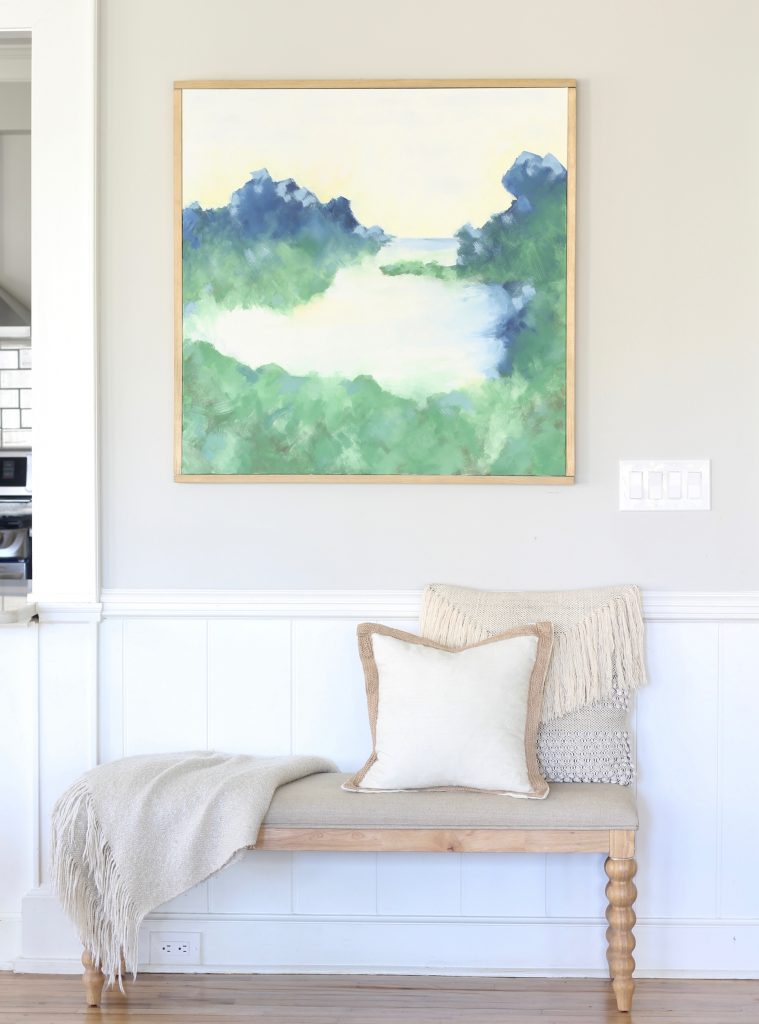
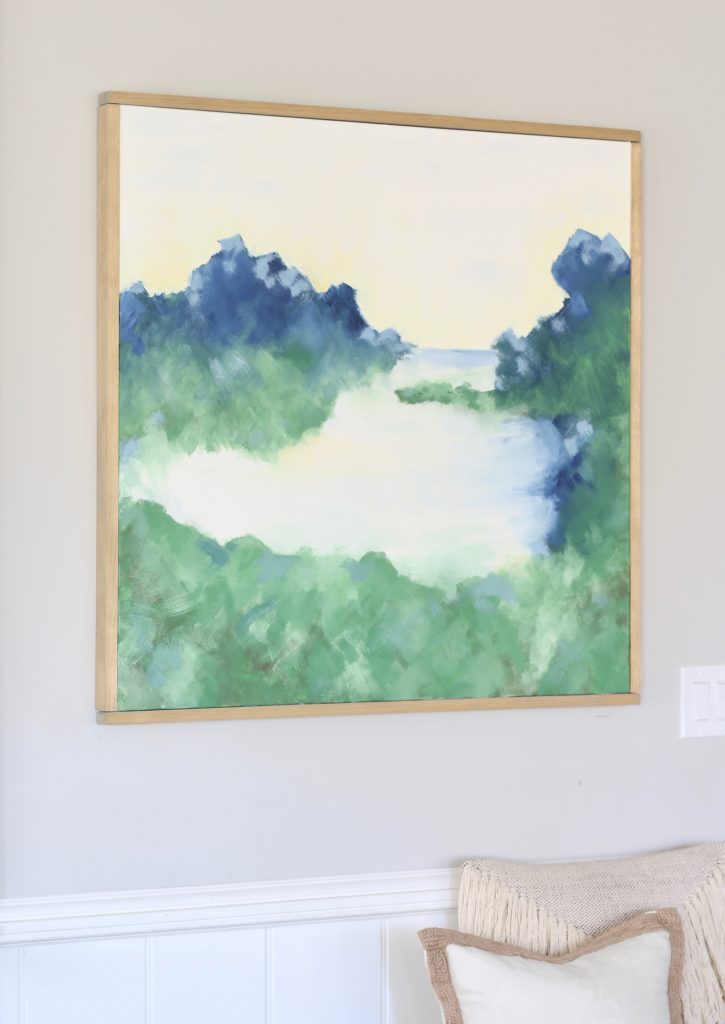
The Final Product
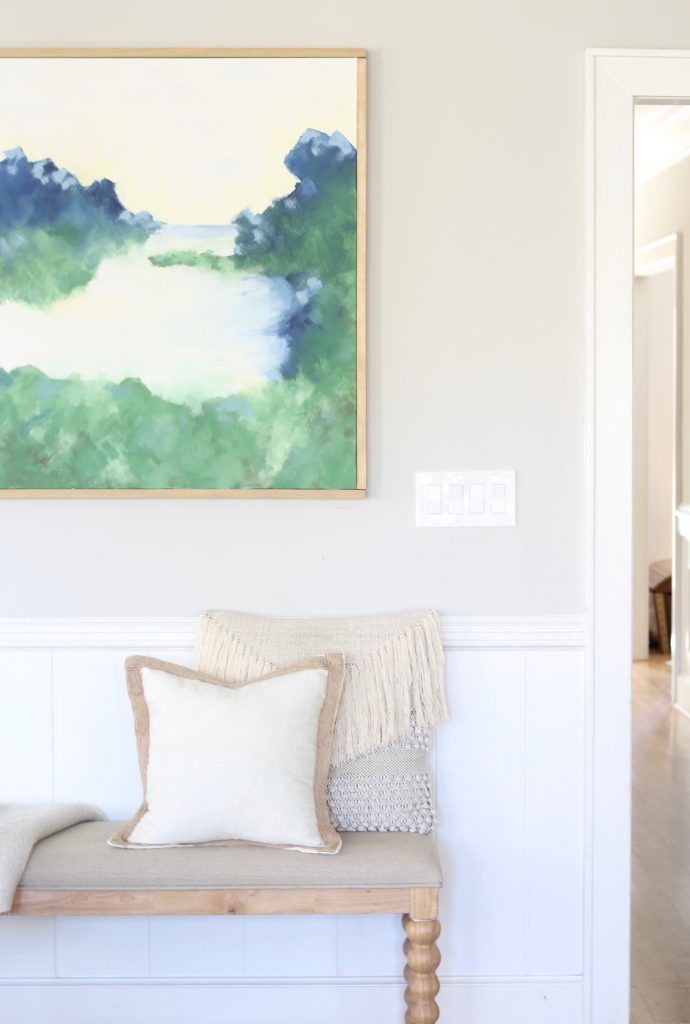
I’m happy with how it turned out. It fits the space well and really does a nice job of incorporating the different colors of the living room area.
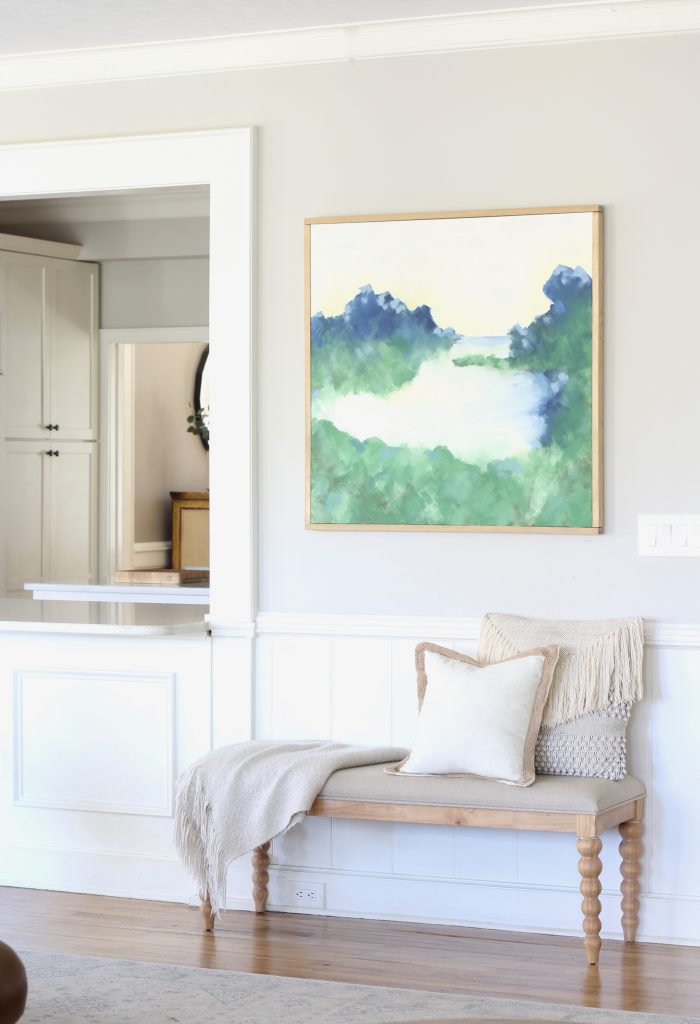
(This bench is one of my favorite pieces! And you can find a very similar fringed pillow here.)
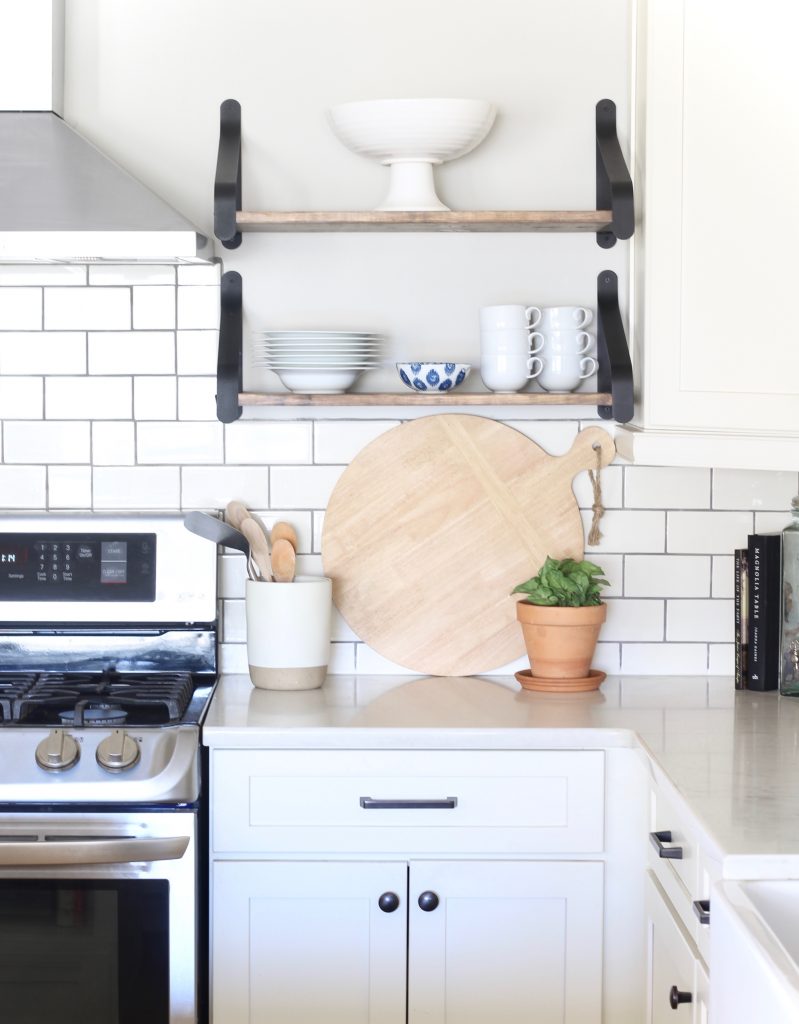
You can see here how the painting picks up the colors in the kitchen.
And the best part? All together, this cost less than $60!
Also, it was fun and pretty easy. I finished the painting in one afternoon, and the frame in another afternoon.
I encourage you to give it a try! If you do, I’d love to see what you paint.
Click the red “Save” button below to save to Pinterest!


Painting looks great ! Your inner artist has arrived!
Thanks! I think it’s always been there – just been in hiding for the past 20 years.
This is just gorgeous!!! Accents everything beautifully!
Thanks so much! That means a lot coming from my neighborly art collector 🙂
It took 40 years for this talent to appear; but, I’m not surprised. Looks really wonderful. Happy Birthday.
Love you!
You never cease to amaze! Looks beautiful, Happy 40th Birthday Livvie, love you lots!!😘
Looks great! Nice work. <3
Thank you, love!
Just amazing! I can totally see a “sister day” painting and having fun on one of our weekends. I love seeing all you are doing, you inspire me😊. Love you, Michelle