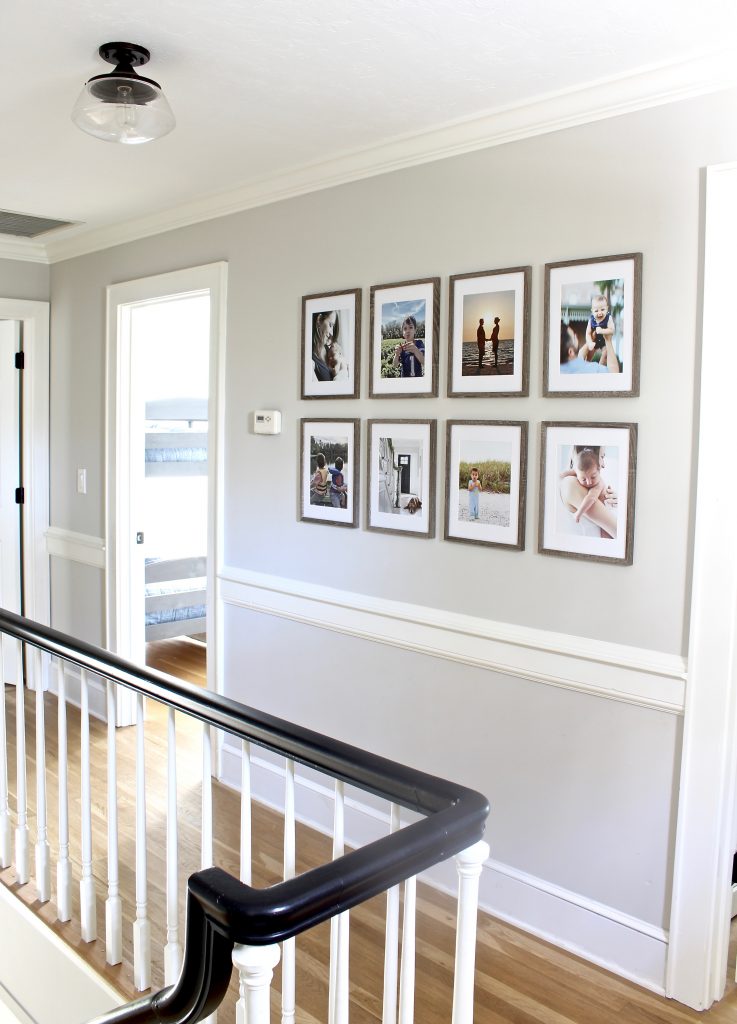
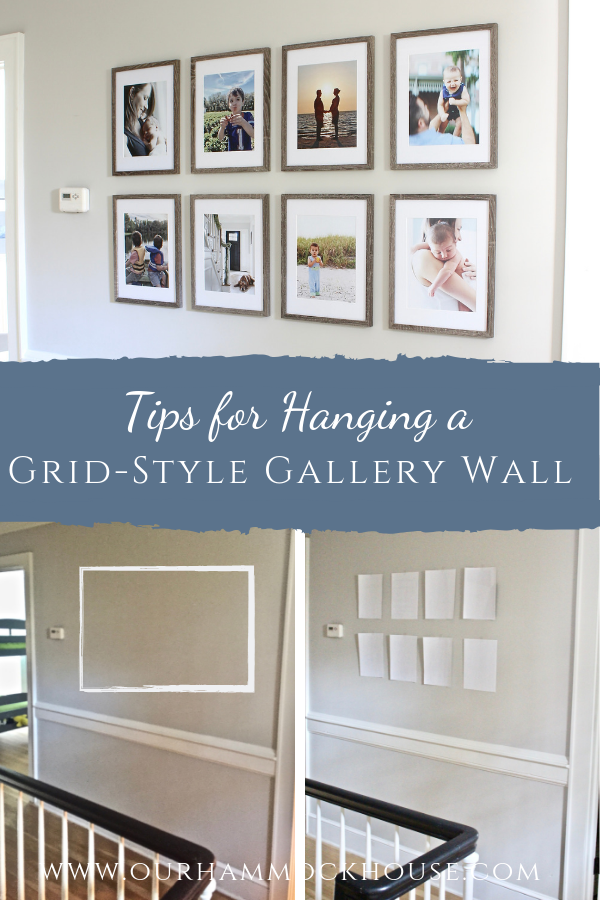
Do you have a large blank wall that you’re not sure how to decorate? It may be the perfect spot for a gallery wall! There are so many creative ways to layout a gallery wall, but if you prefer clean, simple, or minimal design, then a grid-style gallery wall may be your best bet. I’m sharing some tips on how I hung the gallery wall in our home.
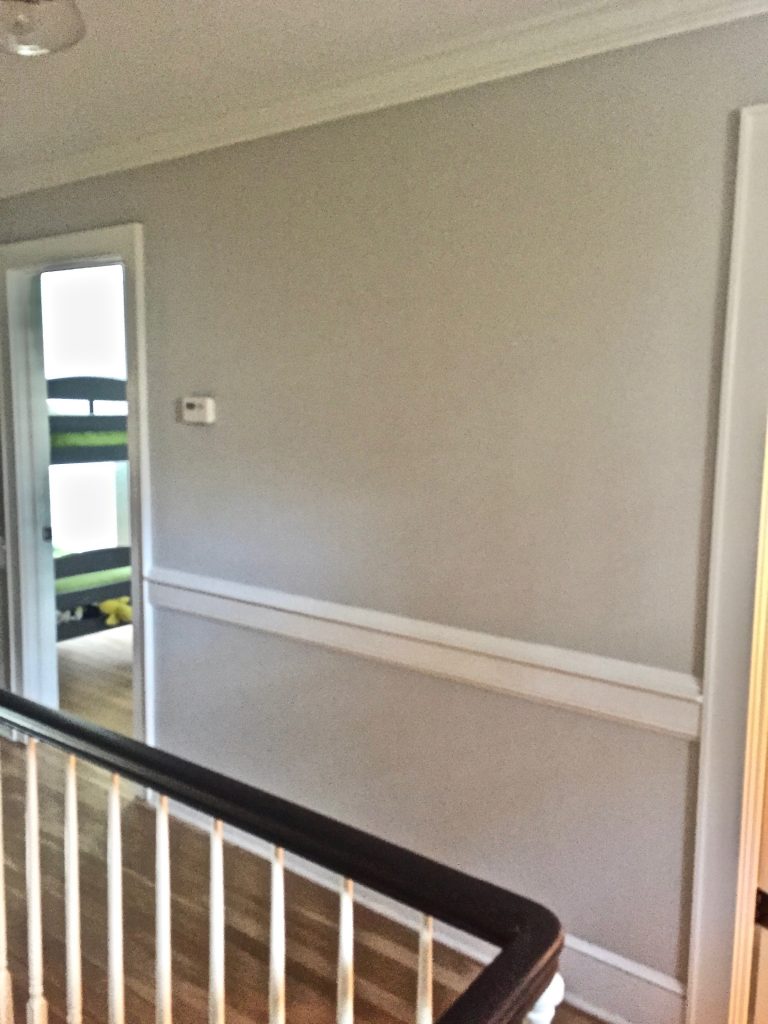
So, here’s what the wall looked like before (please excuse the grainy iPhone pic). It looked like this for months. I knew I wanted to display family photos here, but the idea of hanging everything level was daunting.
The first step was deciding (1) what size frames to use and (2) how many frames would fill the wall. I experimented by taping printer paper to the wall, because the paper is close to the size of a standard 8″ x 10″ frame.
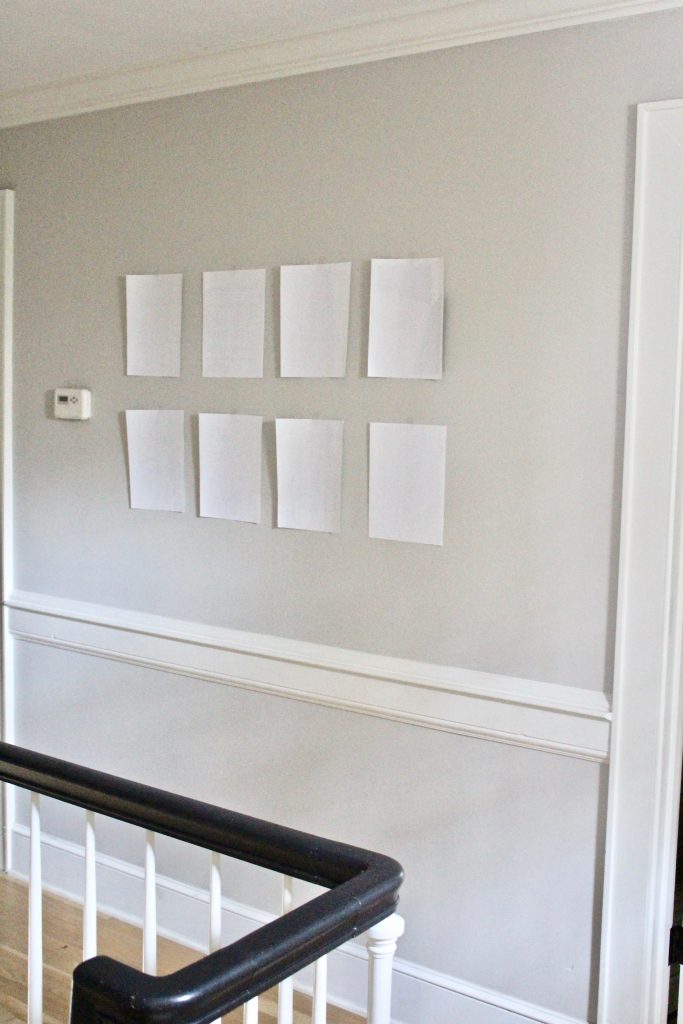
Hmmm…this was not quite right. There’s too much empty space. And, if I spread it out, then the collection would not look cohesive. But, this did teach me that the next standard frame size – 11″ x 14″ – would probably be perfect. So, it was off to find some affordable, simple frames.
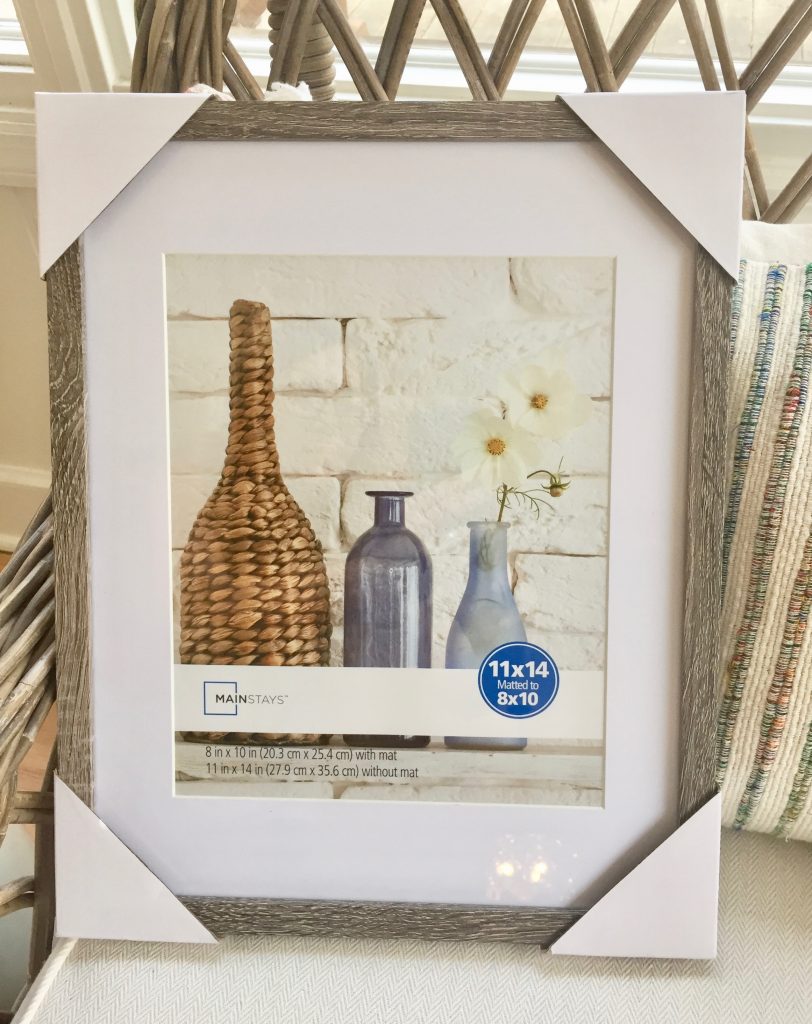
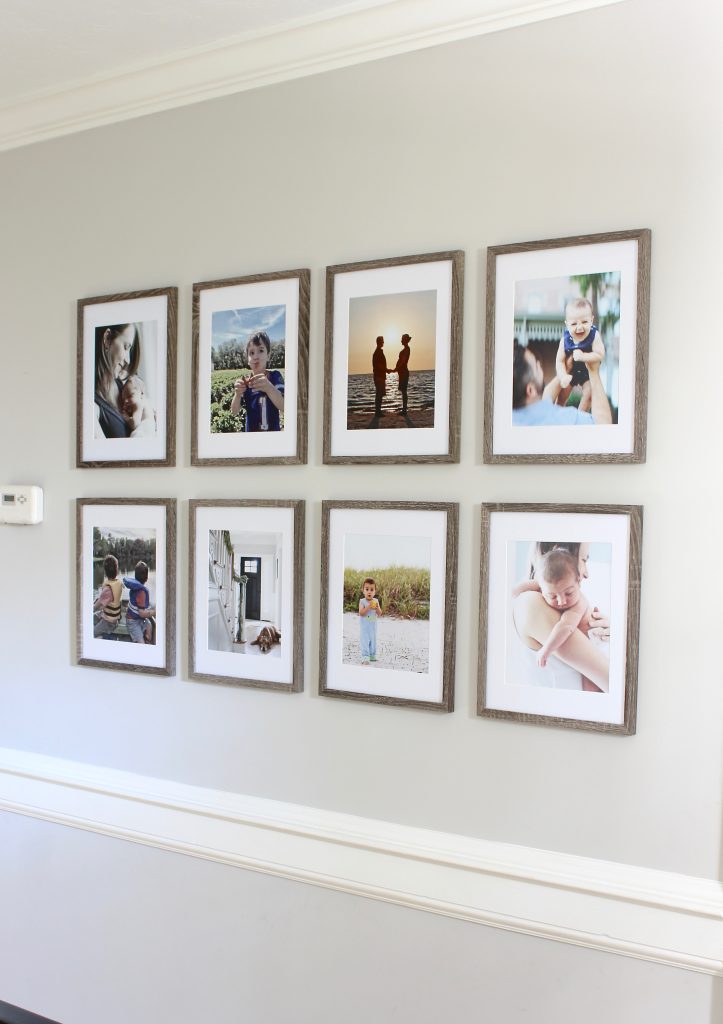
These frames were just what I was looking for – I like the simple clean lines and the weathered gray color. And – brace yourselves – they were less than $7 each – with the mat!!! (They are also lightweight, so I wouldn’t need screws or wall anchors to hang them.)

Then, the hard part. Figuring out how to hang the frames evenly and straight. Since the papers inside the frames were about the same size as the frames, I used them as my guides. I taped the papers, 2″ to 3″ apart, in two rows centered on the wall. (I have to admit that I didn’t use a ruler for this – I just used the width of my ring, middle, and pointer fingers pressed together – but I did use a level to ensure they were straight.) I adjusted the papers until I was satisfied with how they filled the space.
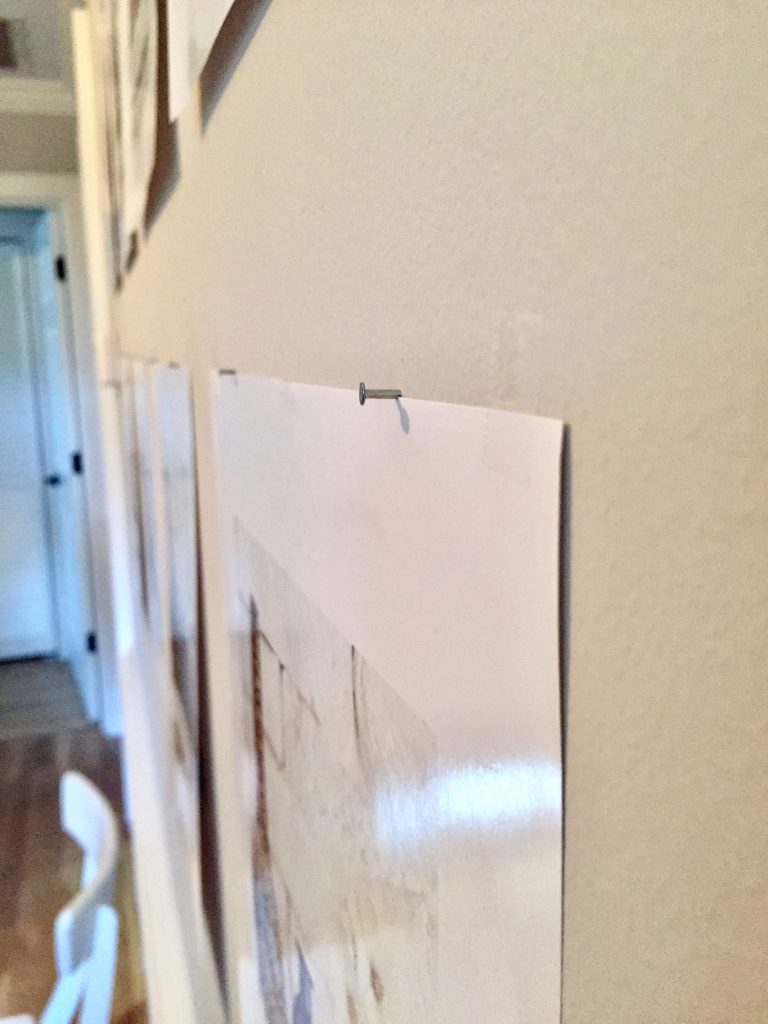
At this point, with the papers still taped to the wall, I hammered in the nails just above the top edge of the paper. I used two nails per frame, each about a third of the way in from the sides. That way, I could slide the frames left or right, if necessary, to keep them lined up.
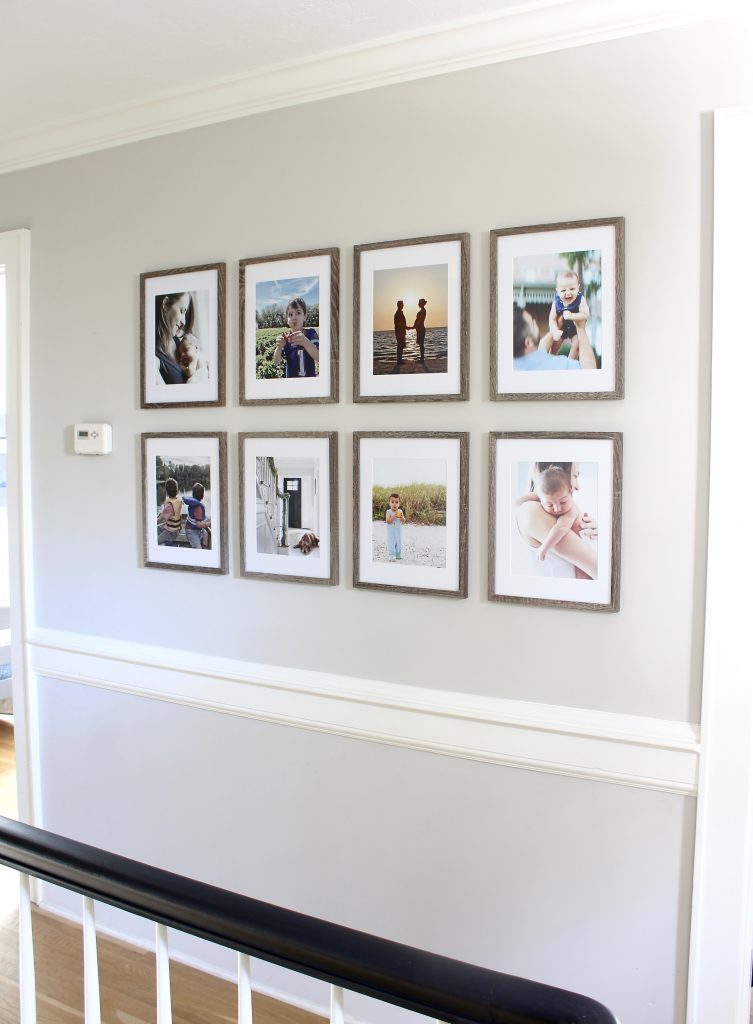
Final step was to hang up the frames!
I chose a variety of my favorite family photos within a certain color palette (with blues, black, and white). The 8″x10″ photos were printed by Snapfish with a matte (not glossy) finish.
This project was half-finished for a long time. The printer paper was taped to the wall, oh for about 6 months, while I mulled over the photos, frames, and how to easily hang them. But, after I picked the photos and frames, hanging was not as hard as I thought it would be, once I had a plan.
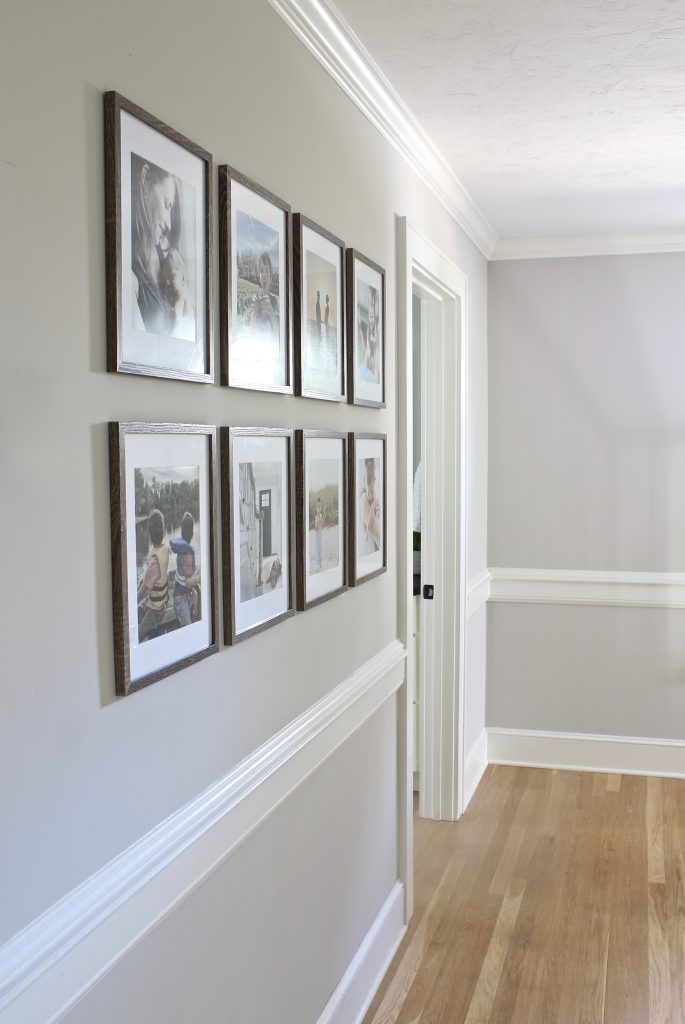
Hope this was helpful! Now go forth and fill that empty wall…
Click the red “Save” button on the image below to save this post to Pinterest!
Looks great! A laser level wouldn’t have gotten them straighter.