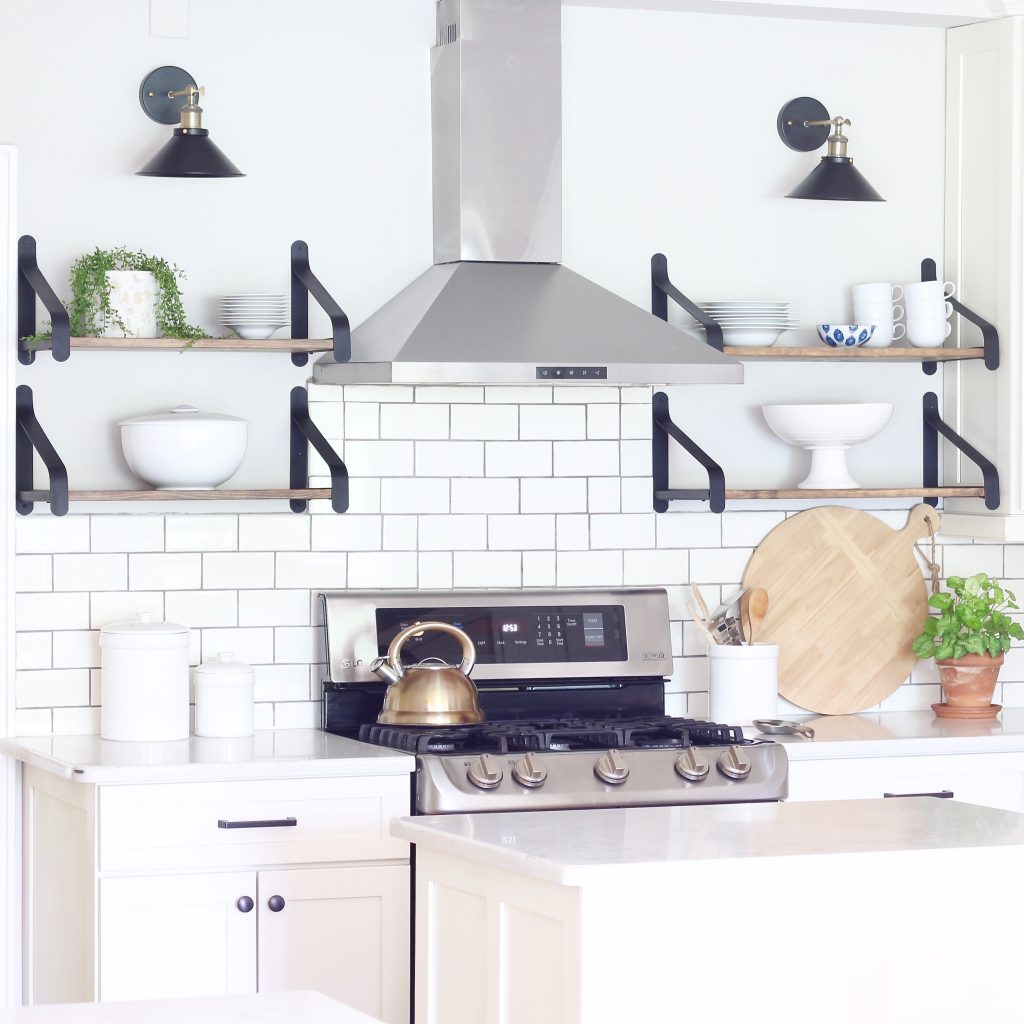
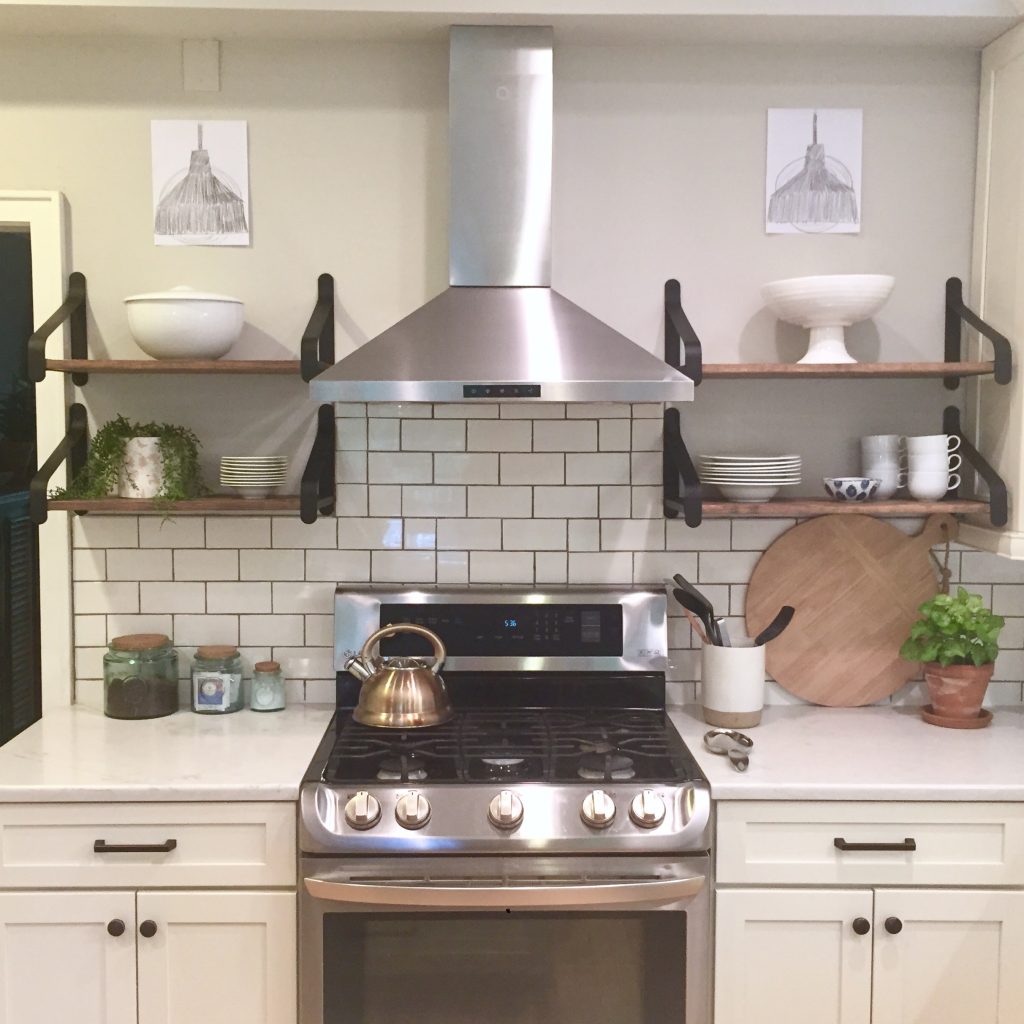
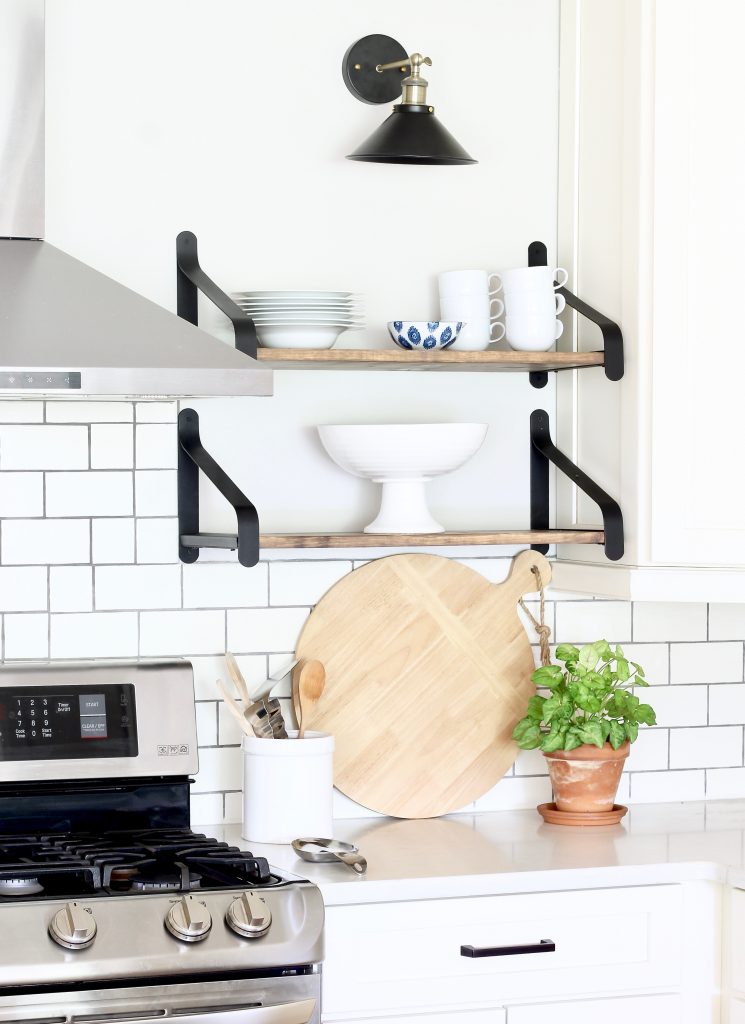
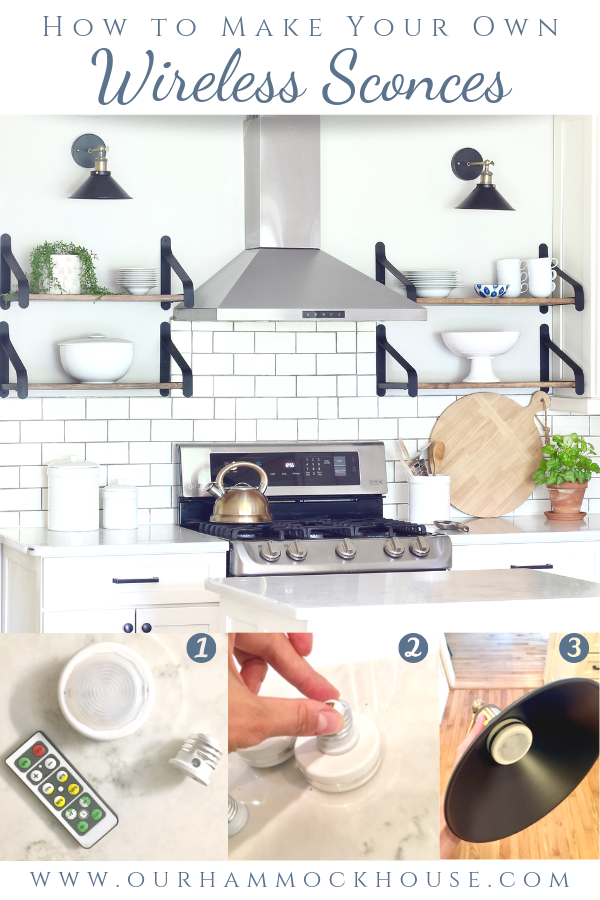
I had been feeling for a while that there was something missing above the open shelves in our kitchen. I considered adding some art or another shelf and then I realized – duh – sconces! The problem? There is a pocket door in that wall, and it would be challenging (if not impossible) to hardwire in sconces. The solution? Turn hardwired sconces into wireless sconces!
Read on to see how we did it for less than $60
This post contains affiliate links for your convenience. My full disclosure is available here.
Let me say right off the bat – I did not come up with this idea myself. All credit goes to Nesting with Grace and her “Magic Light Trick.” Brooke Christen has a ton of great DIY projects on her blog that you should definitely check out.
You can follow the great tutorials on Nesting with Grace and get the basic idea of how this works. Essentially, you buy a normal hardwired wall sconce (not the plug-in type). But, instead of screwing in a lightbulb, you use a battery powered puck light. Then, you just attach the sconce to the wall and use a remote to turn on the puck light. Voila!
While this is easy enough, I did run into a few hiccups along the way, so I thought I’d share some tips based on my experience.
Selecting the Wall Sconce
I initially ordered two of these sconces:
They were the perfect size, and I loved the coppery accent along the edges, which is very similar to our cabinet hardware. But, we could not figure out how to attach them to the wall without a junction box, because there were no exterior screws. (I know, this sounds confusing, but hopefully it’ll make more sense in a minute…)
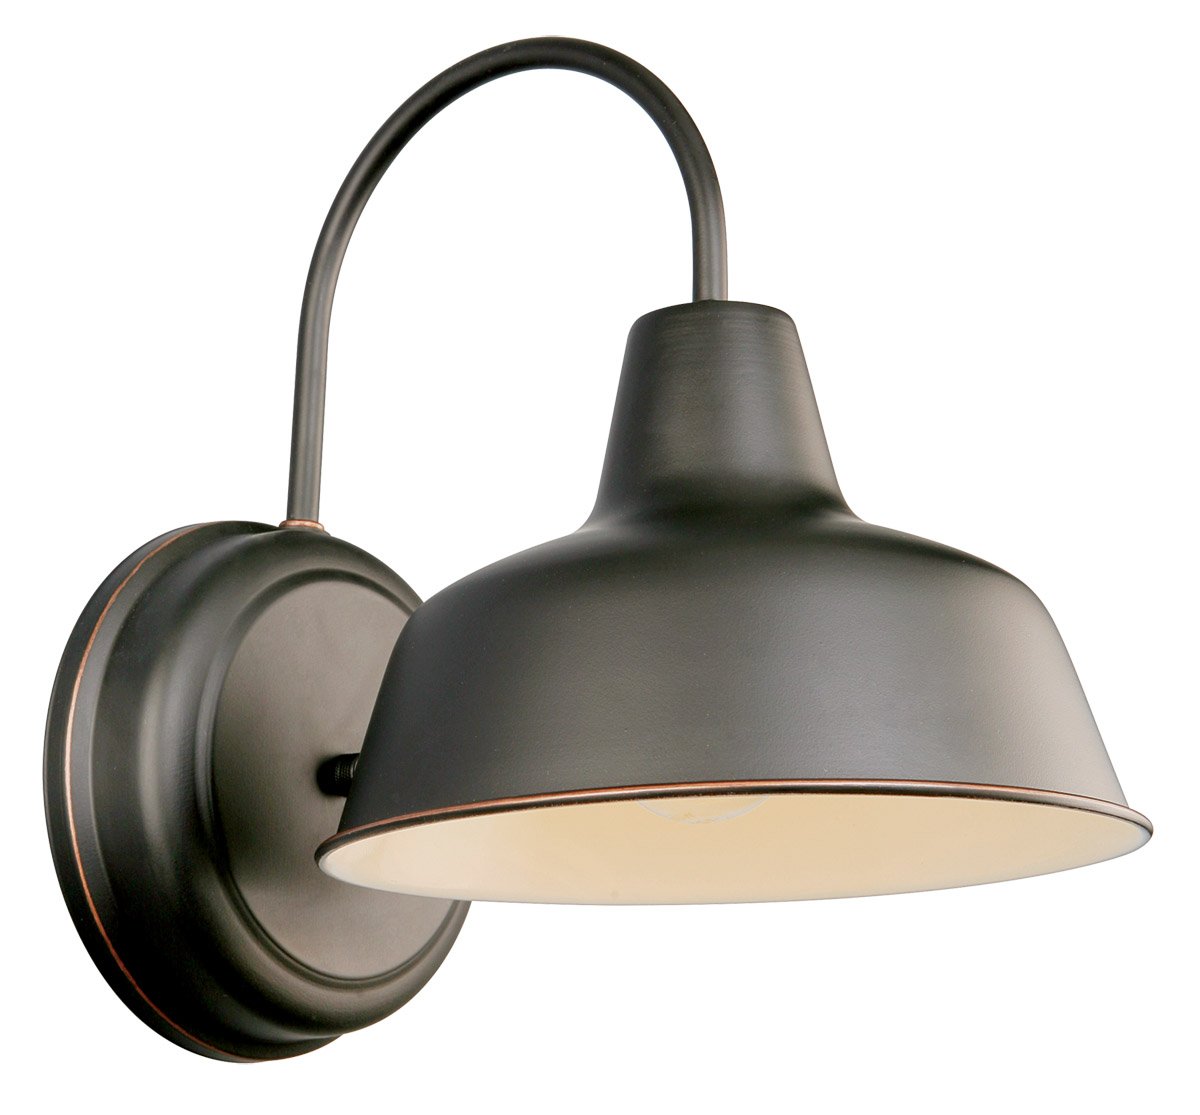
So, I returned those and bought these instead:

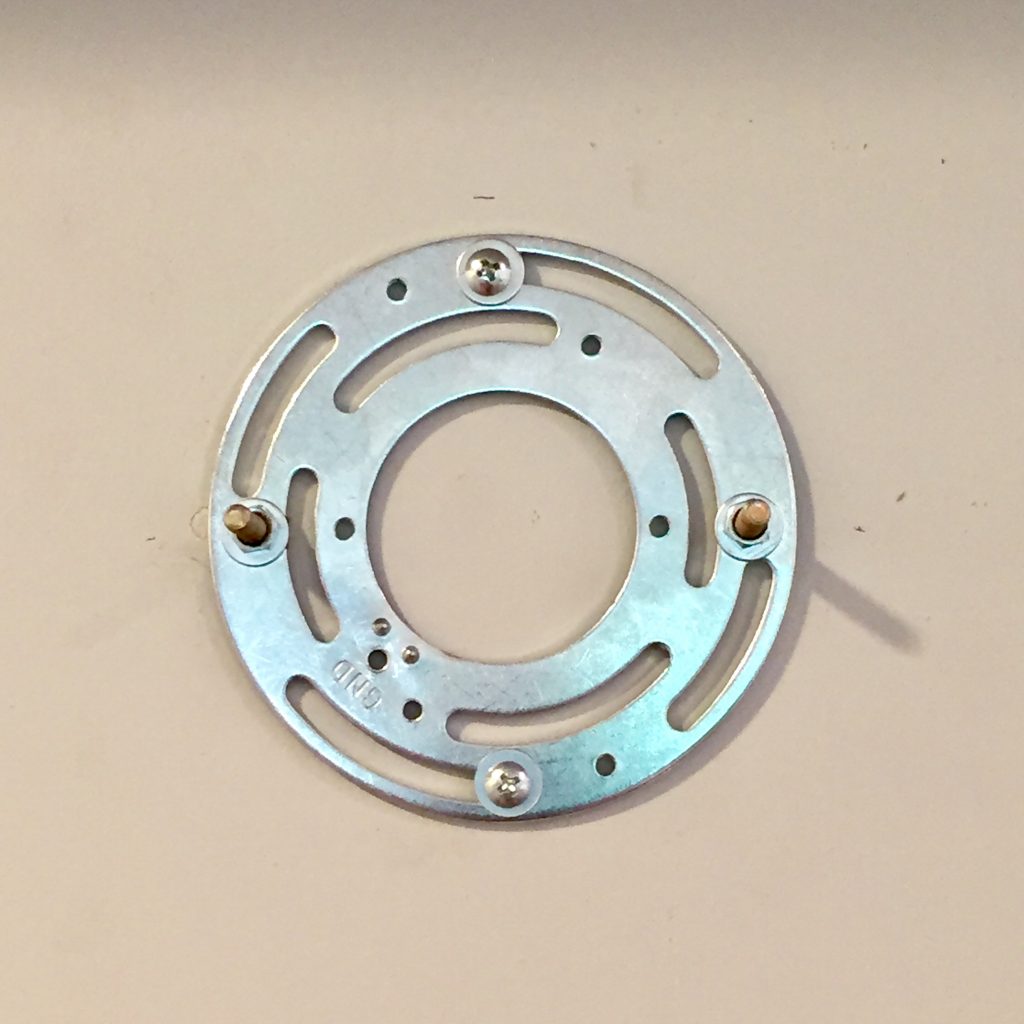
Do you see the two brass screw covers on the part that attaches to the wall? Those come off and make it easier to drill this directly into the wall, instead of attaching to a junction box (as you would if this was hardwired). These ended up working out perfectly for us. Oh, and the best part, we got two sconces for a total of only $32.99!!
So, if you decide to DIY wireless sconces in your house, look for sconces that have these two exterior screws on the wall plate.
Attaching the Puck Light
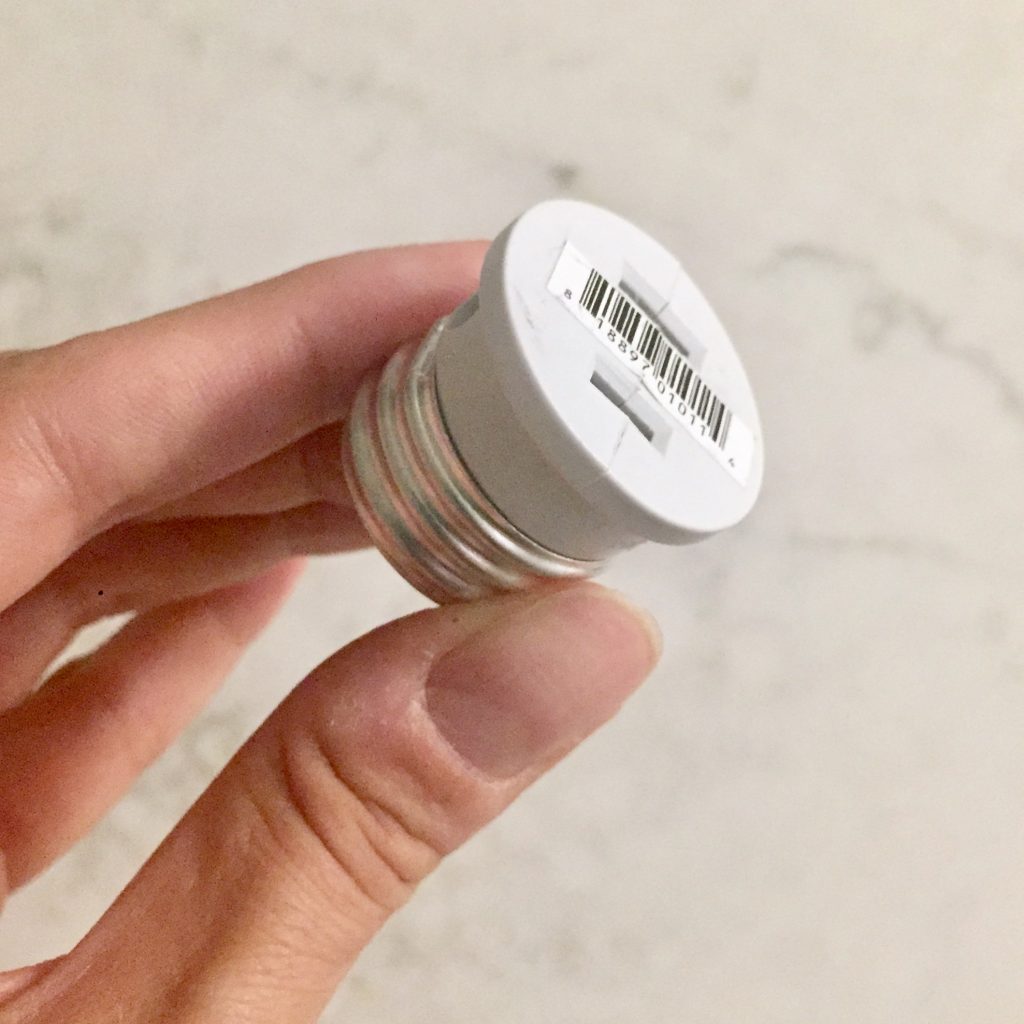
In Nesting with Grace, she attached the puck light to the inside of the shade using wire, magnetic strips, or velcro. I came across another blogger, Chatfield Court, who had the good idea of using a light socket adapter. A light socket adapter screws into a light socket and turns it into a plug. I decided to give that a shot.
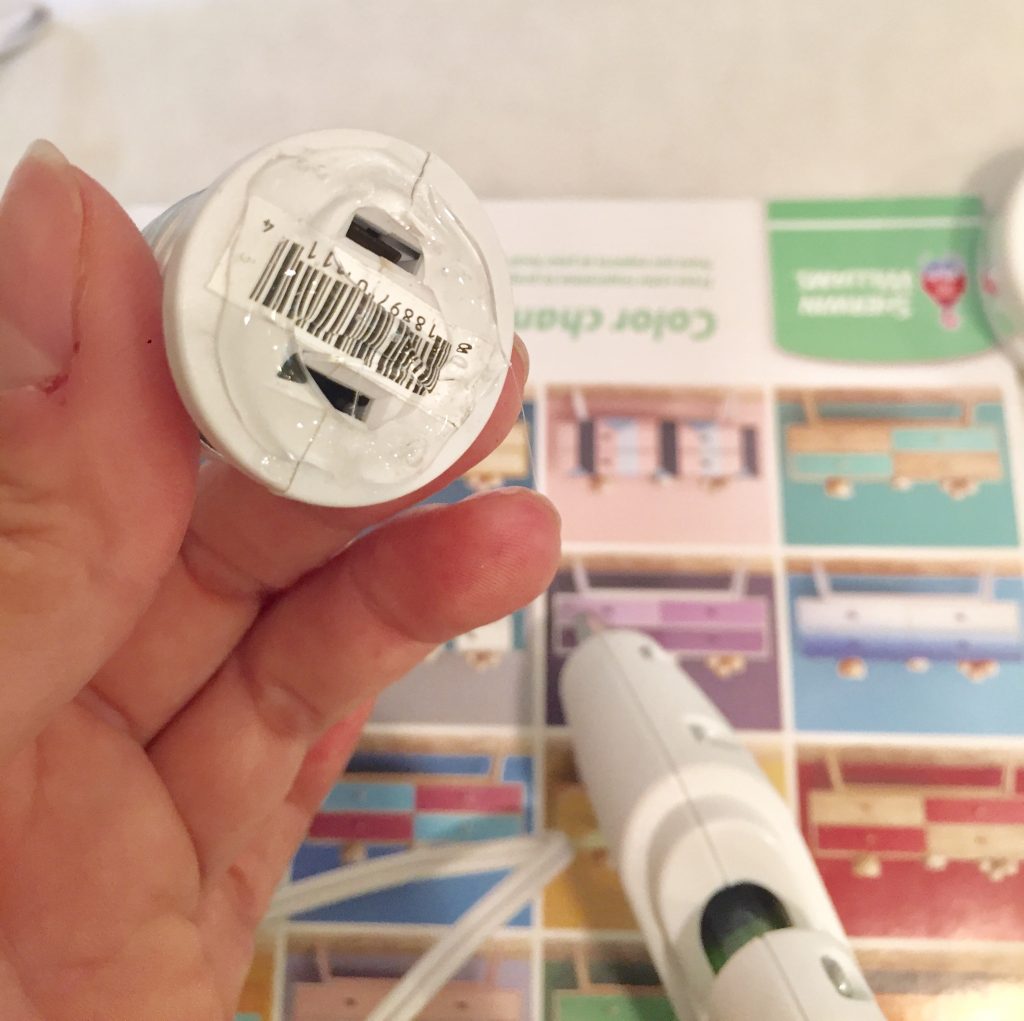
So, here’s the puck light (with remote) and the light socket adapter. The puck lights take 3 “AAA” batteries. I got a 6-pack of puck lights for $16 (I figured the extras would come in handy for hurricane season). The adapters were a couple bucks.
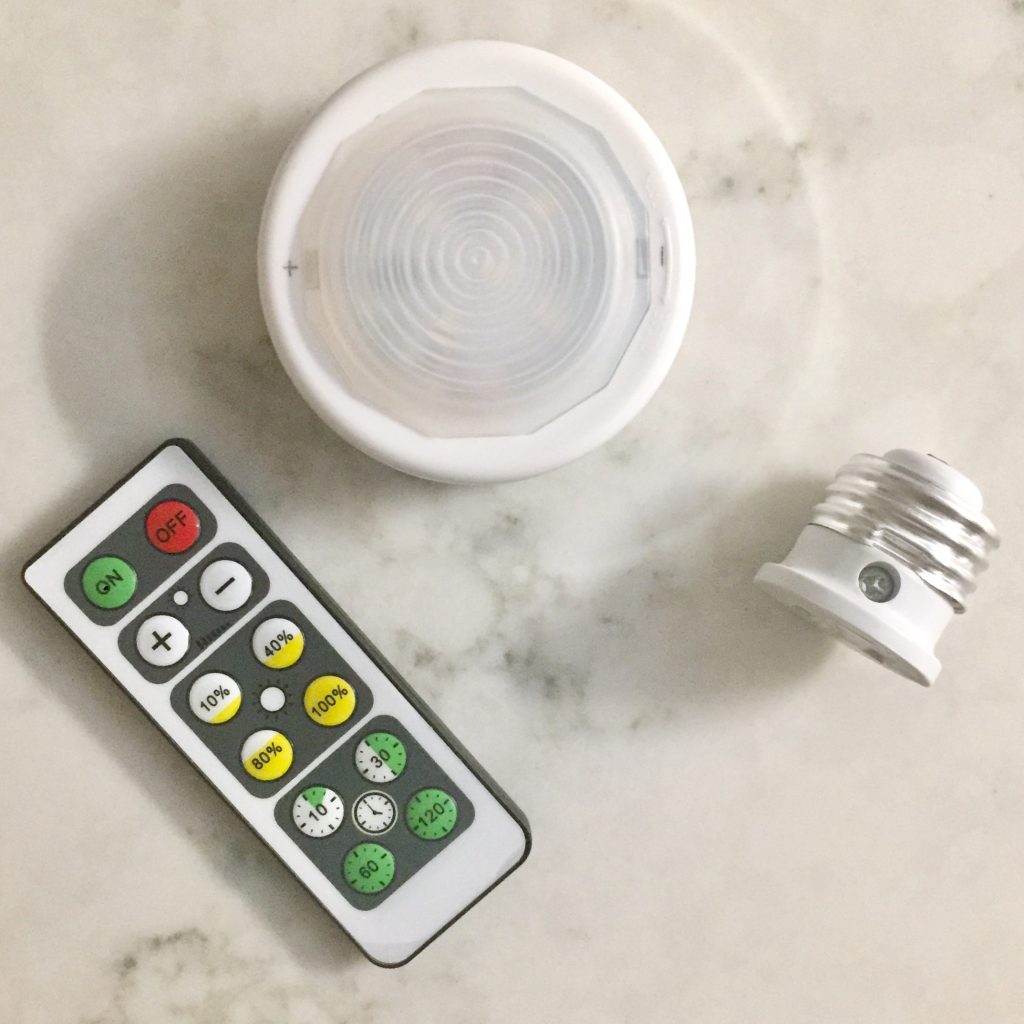
After inserting the batteries in the puck light, I attached the flat end of the adapter to the back of the puck light with hot glue.
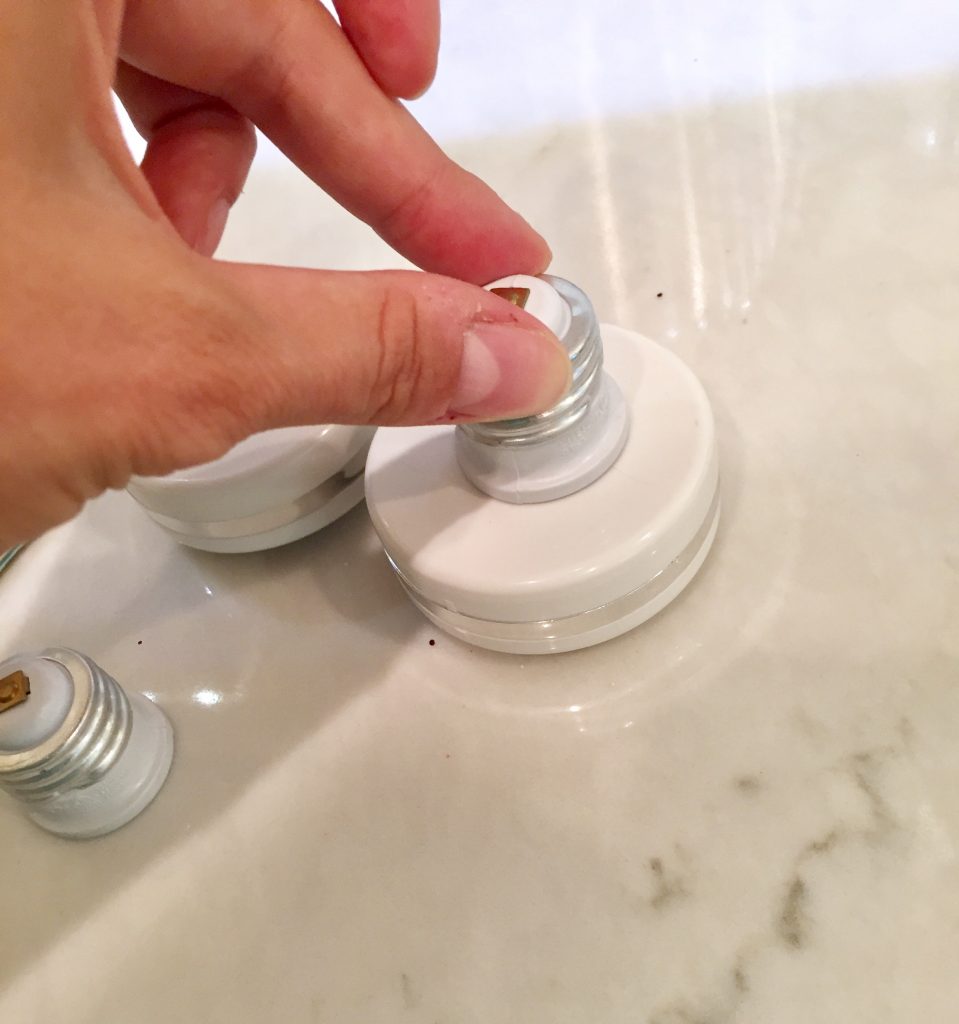
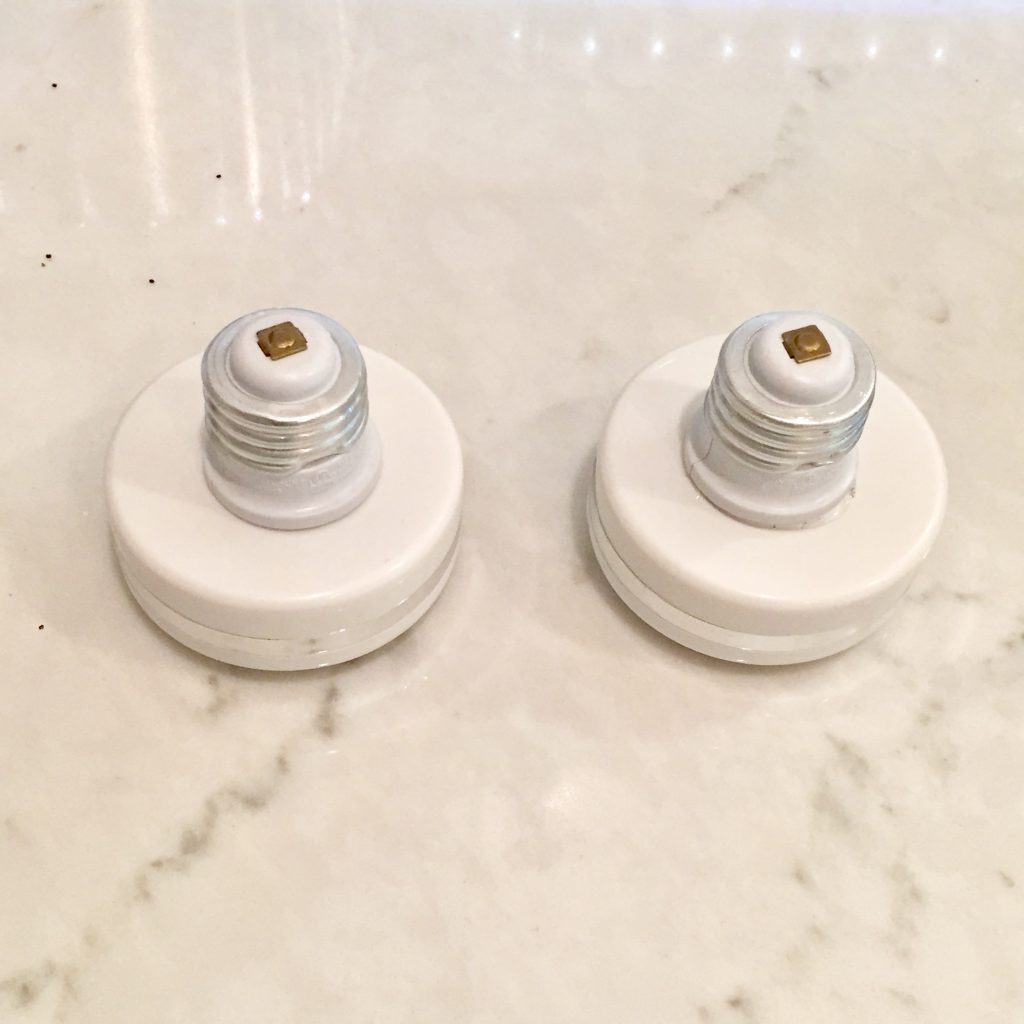
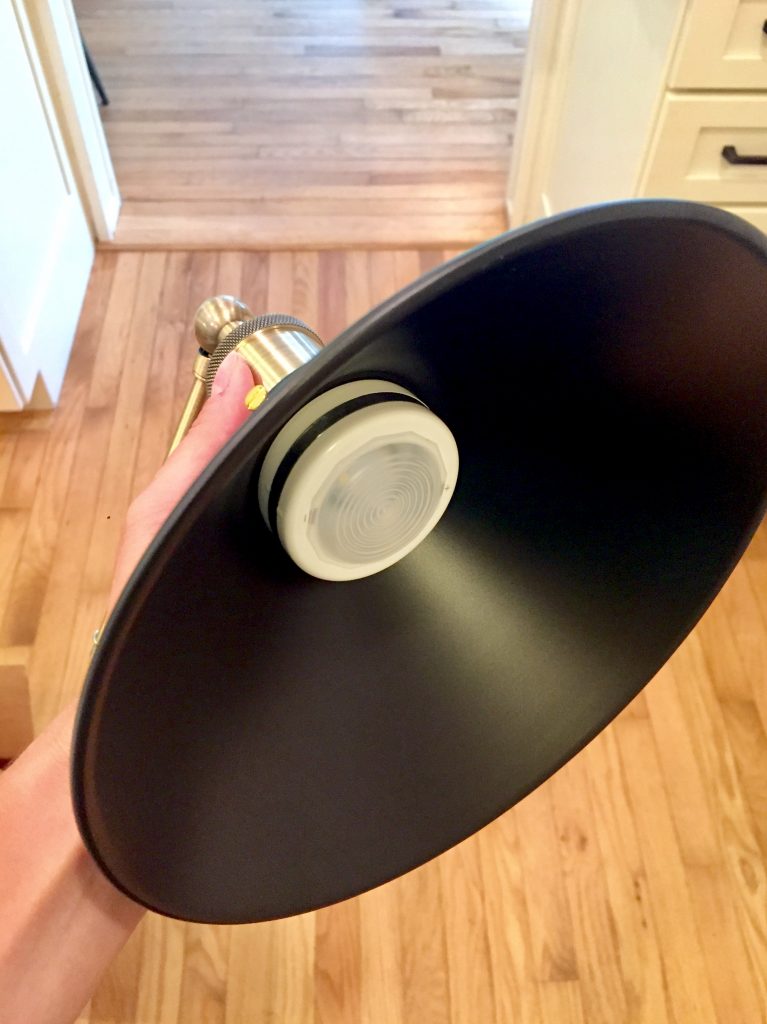
Once the glue dried, I screwed a puck light into each sconce, just like I would have done with a lightbulb. To turn on the lights, you can either press them or use the remote. The same remote will work for both lights. Plus, they have different brightness settings and a timer!
There you have it – a battery operated wireless sconce!
Installing the Wireless Sconces
To attach the wireless sconces to the wall, you are pretty much going to do what you would do if there was a junction box, except you’re drilling directly into the wall.
First, determine the appropriate placement. I drew my sconces on paper and hung them up to get a sense of where I wanted them to be. (These were based on the initial sconces that I bought, but the new ones were about the same size. And, yes, my kids thought I was crazy when I asked to borrow a black crayon.)
Once we figured out the placement, we marked it with pencil, drilled in the anchors, and then attached the wall plate that comes on the back on the sconce.
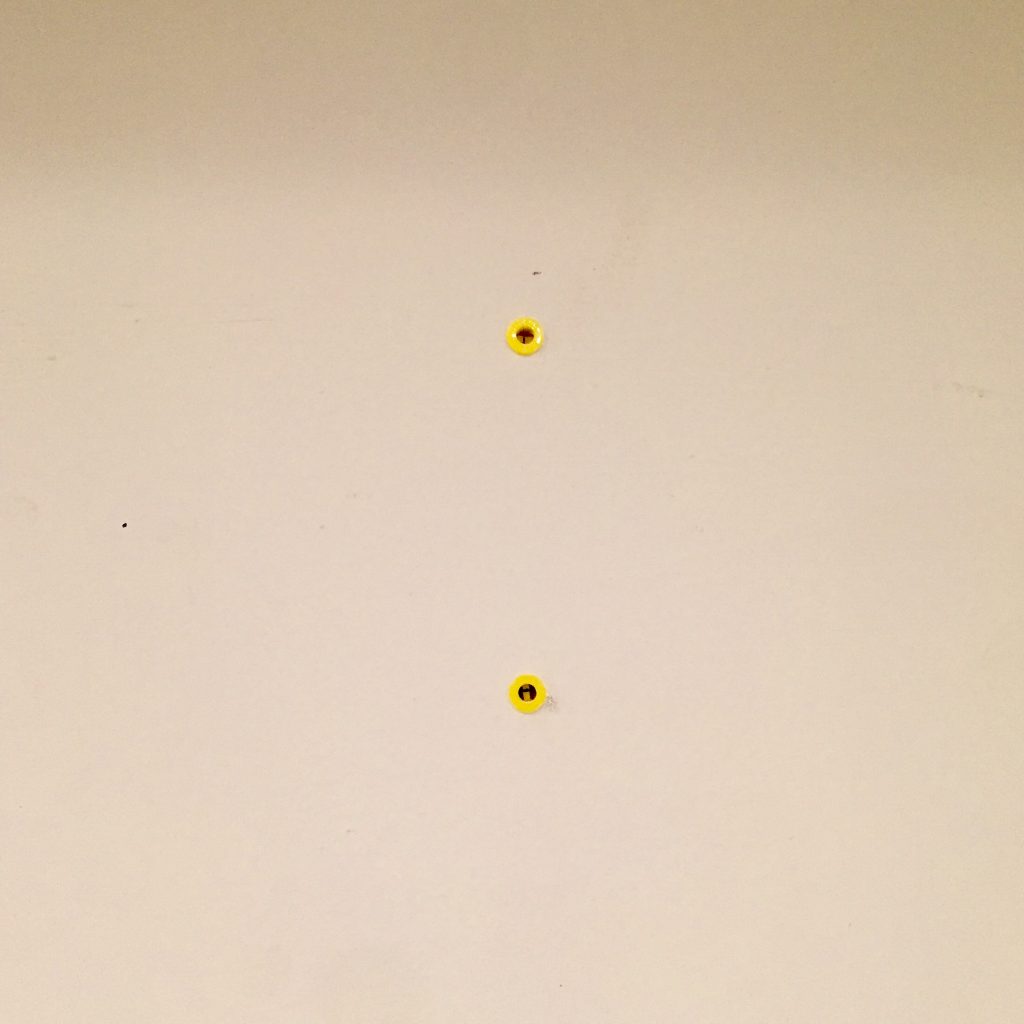
The two horizontal screws that poke out away from the wall are inserted through the holes on the sconce wall plate. The brass screw covers hold the sconce in place. And that’s it.
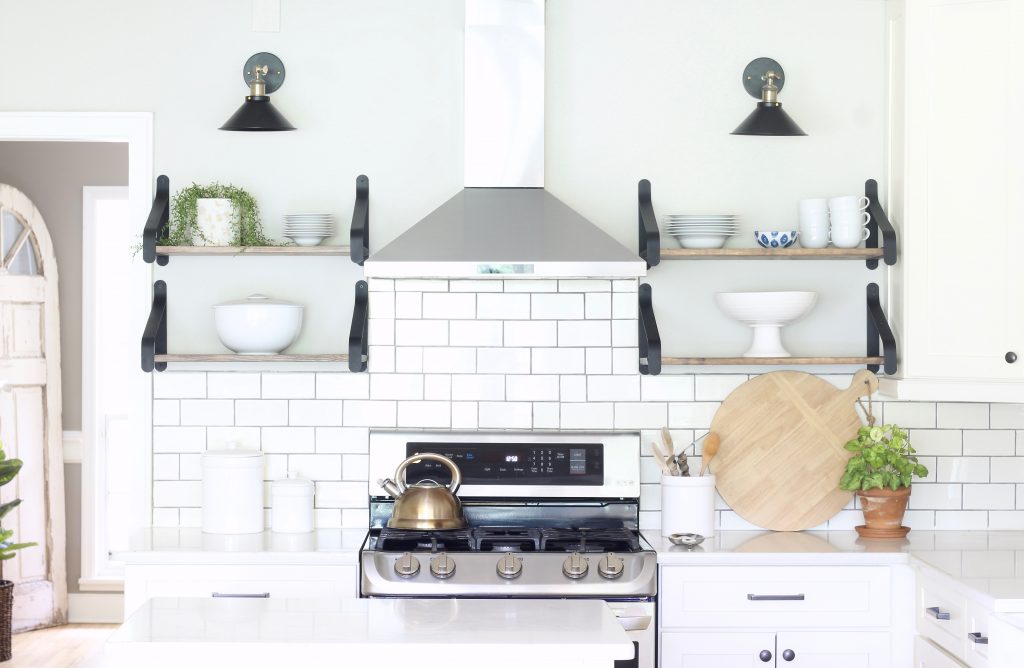
I’m really happy with how they turned out. They fill in the space perfectly and add a nice, indirect light in the evening.
All together, installing these wireless sconces cost $56. A heck of a lot less than hiring an electrician!
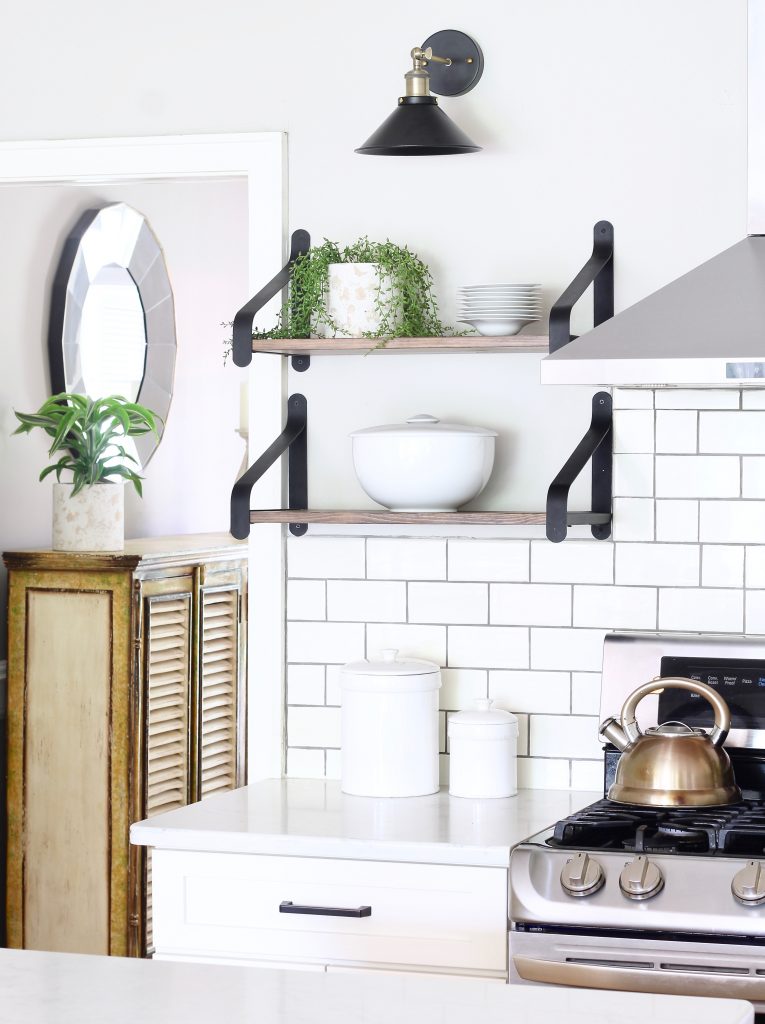
I feel like these black wireless sconces made the whole space feel more sophisticated, which, in turn, made me not like how my old kitchen canisters looked. So, I replaced those with pretty new white kitchen canisters.
If you liked this post, please remember to save to Pinterest by clicking the red “Save” button below.


These sconces complete the space beautifully and how about that price tag!!! You’re so crafty:)))